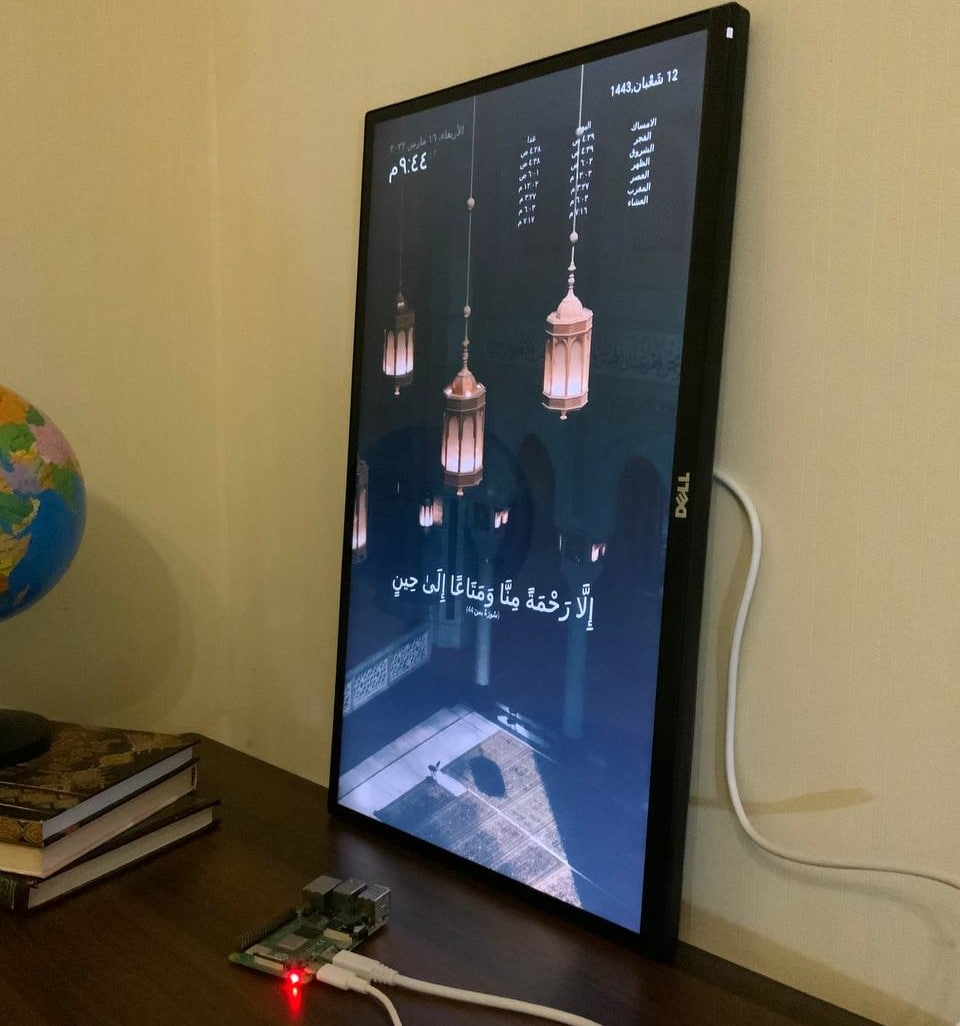
يمكن ان تكون شاشات العرض الرقمية بديل للصور التي نزين بها البيوت، أو المستخدمة في الدعاية و الاعلان، بل تتميز عن الصور التقليدية في امكانية تغير الصورة و التحكم ببيانات كثيرة يمكن عرضها على الشاشة، في هذا الدرس سنعمل على إضافة وحدات إلى المرآة الذكية، بحيث تكون لدينا وحدة خاصة بعرض التاريخ الهجري و وحدة بعرض صور من ملف على الراسبيري باي لتضيف جمالية لشاشة العرض، كما سنضيف وحدة تحدد أوقات الصلاة و تظهر تنبيه الأذان، بالإضافة إلى عرض آيات قرآنية على مدار اليوم . .
المواد والأدوات المطلوبة

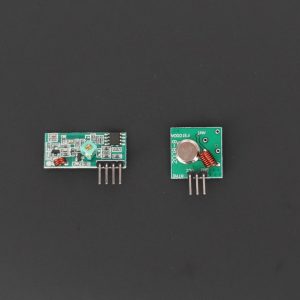
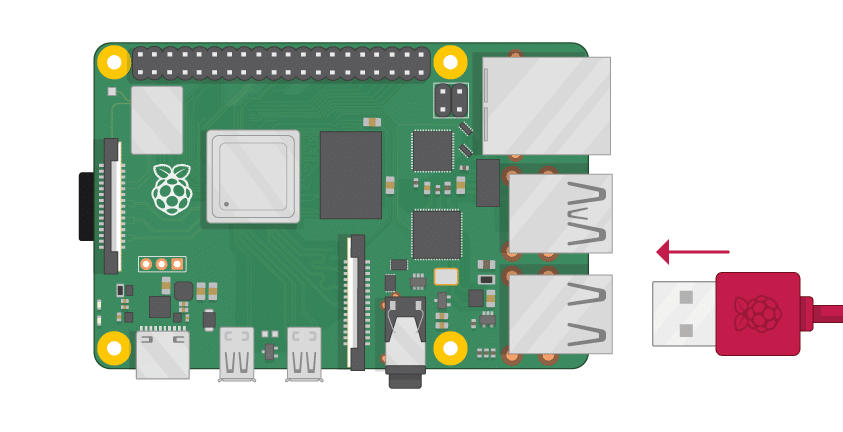
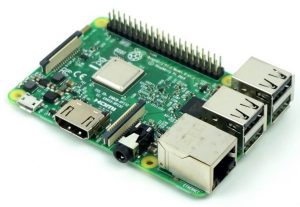
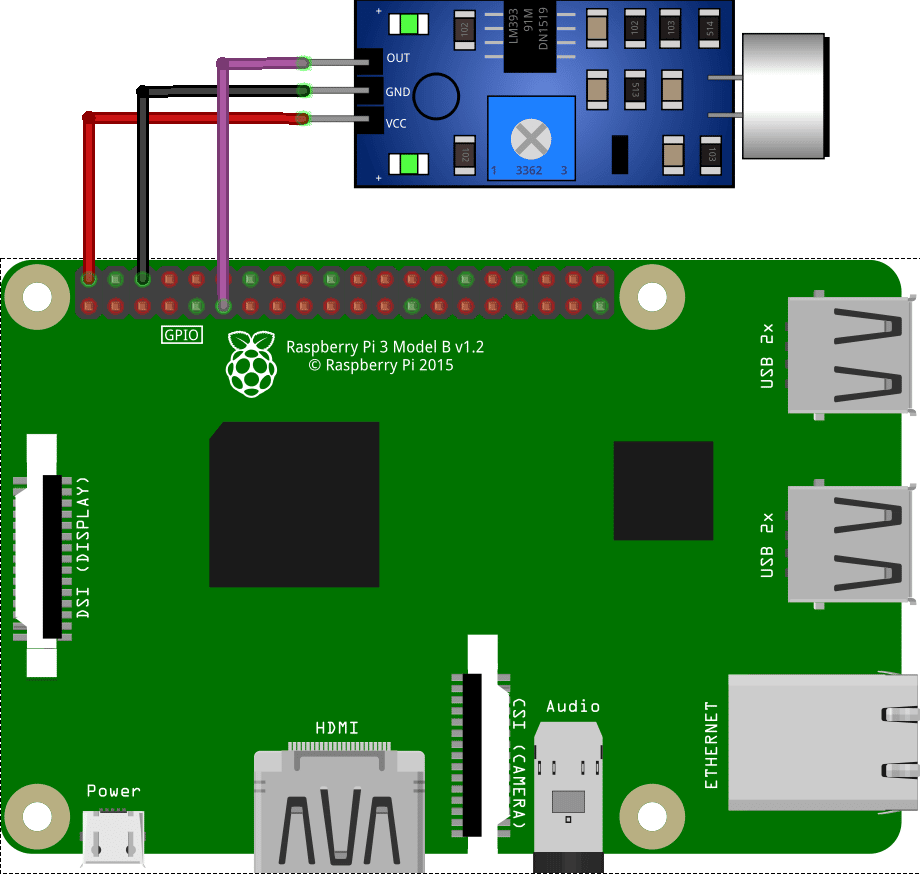
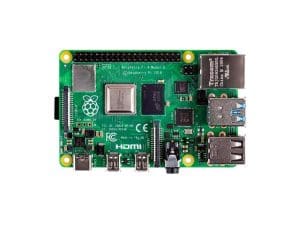
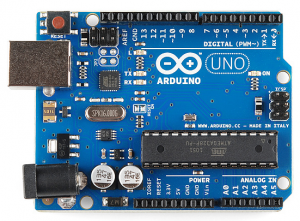
1X راسبيري باي
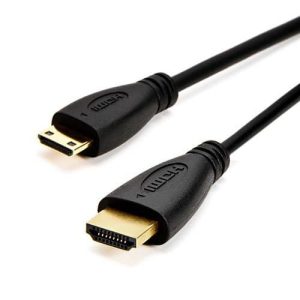
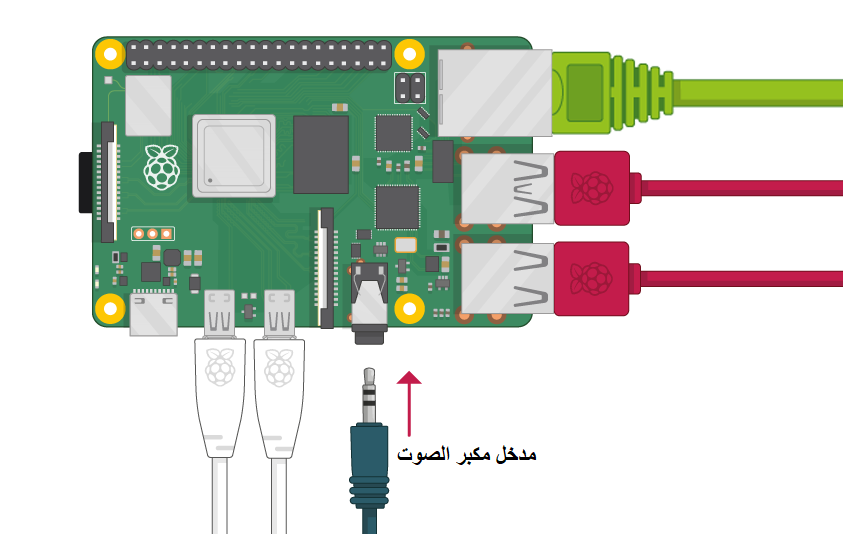
1X سلك (HDIM)
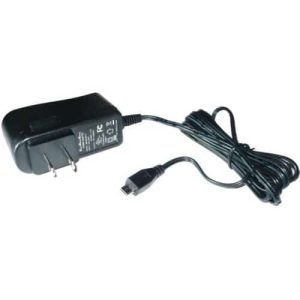
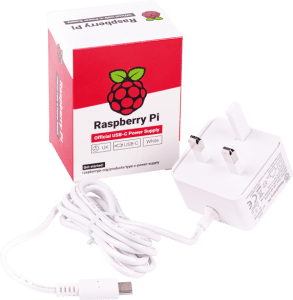
1Xمحول طاقة

1Xذاكرة
1Xقارئ ذاكرة
المرآة الذكية
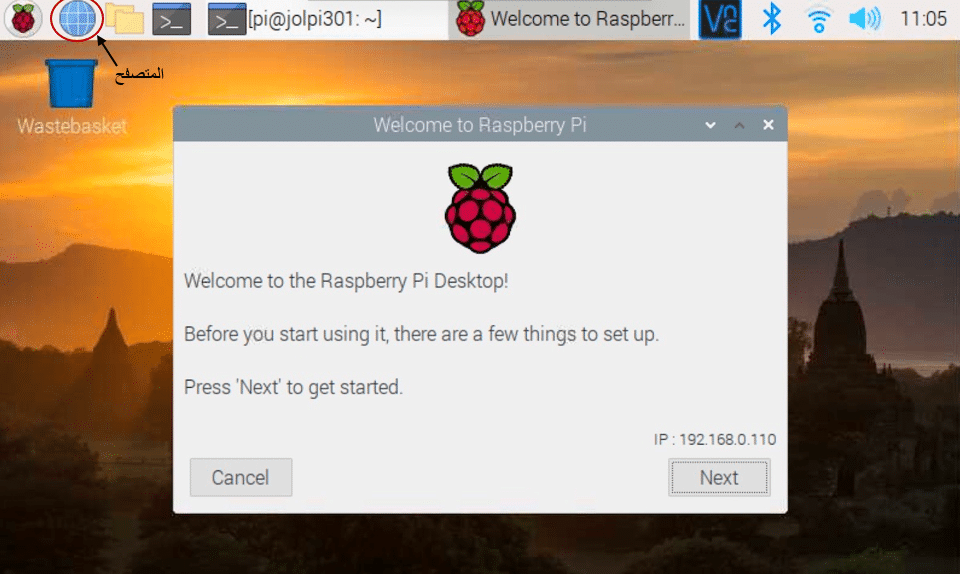
منصة المرآة الذكية مفتوحة المصدر، تعمل على عرض عدة بيانات على شاشة سوداء، سنقوم باضافة النماذج التي نحتاجها عليها ، أولا ستحتاج إلى مراجعة تهيئة نضام التشغيل للراسبيري باي من خلال درس (نظام تشغيل الراسبيري باي ) بعد ذلك نبدأ خطوات تثبيت المرآة الذكية
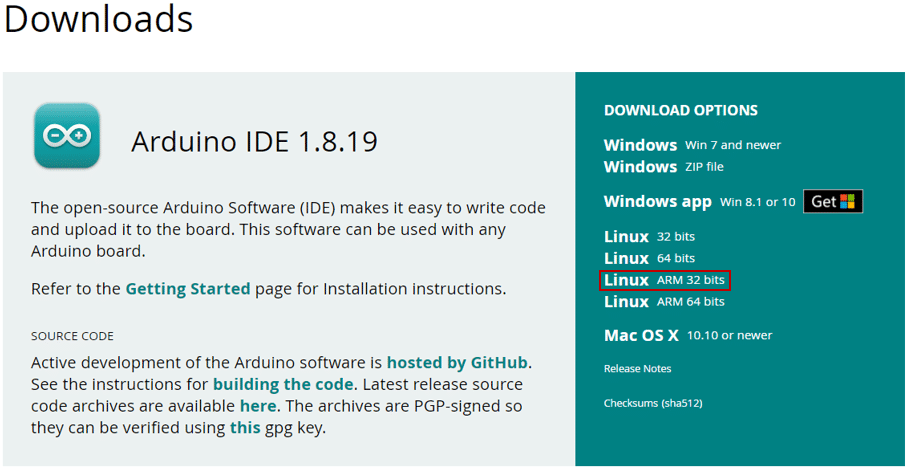
قم بتنزيل و تثبيت أحدث إصدار من (Node.js) :
curl -sL https://deb.nodesource.com/setup_16.x | sudo -E bash -
sudo apt install -y nodejs
نسخ مجلدات المرآة الذكية
git clone https://github.com/MichMich/MagicMirror
سيتم نسخ المجلدات داخل مجلد باسم (MagicMirror) قم بفتح المجلد من خلال السطر
cd MagicMirror/
قم بتثبيت التطبيق من خلال السطر التالي
npm install --only=prod --omit=dev
قم بعمل نسخة من ملف نموذج التكوين من خلال السطر
cp config/config.js.sample config/config.js
الآن اصبح المرآة الذكية جاهزة يمكن تشغيلها و ستعرض لك بعض البيانات المثبته عليها بشكل تلقائي ، تشغيلها من خلال السطر التالي
npm run start
للخروج من واجهة المرآة قم بالنقر على (Ctrl+M)
يمكن التعديل و حذف البيانات التي تظهر على واجهة المرآة من خلال ملف التكون (config) و الموجود فيالمسار (~MagicMirror\config)
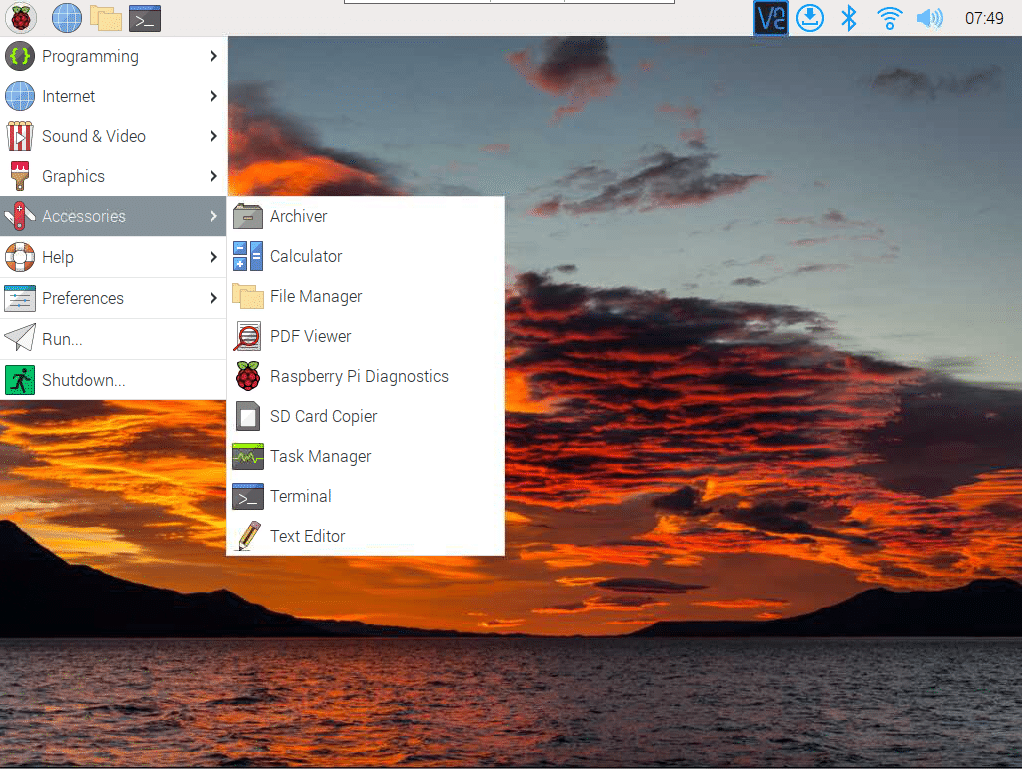
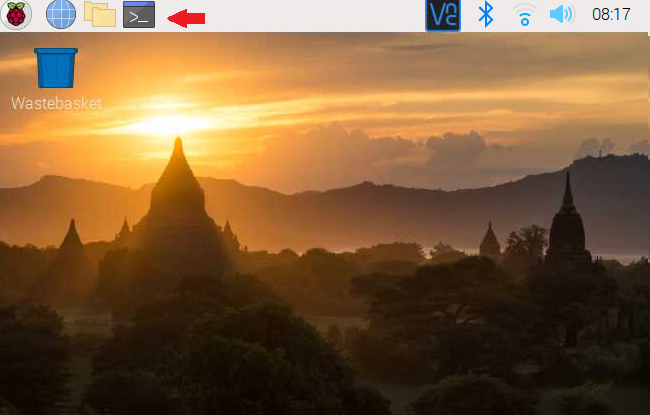
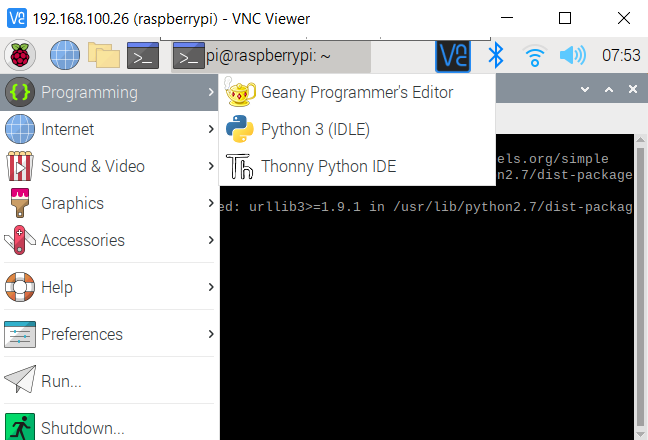
قم بفتح الملف من خلال محرر( Geany )
let config = {
address: "localhost", // Address to listen on, can be:
// - "localhost", "127.0.0.1", "::1" to listen on loopback interface
// - another specific IPv4/6 to listen on a specific interface
// - "0.0.0.0", "::" to listen on any interface
// Default, when address config is left out or empty, is "localhost"
port: 8080,
basePath: "/", // The URL path where MagicMirror is hosted. If you are using a Reverse proxy
// you must set the sub path here. basePath must end with a /
ipWhitelist: ["127.0.0.1", "::ffff:127.0.0.1", "::1"], // Set [] to allow all IP addresses
// or add a specific IPv4 of 192.168.1.5 :
// ["127.0.0.1", "::ffff:127.0.0.1", "::1", "::ffff:192.168.1.5"],
// or IPv4 range of 192.168.3.0 --> 192.168.3.15 use CIDR format :
// ["127.0.0.1", "::ffff:127.0.0.1", "::1", "::ffff:192.168.3.0/28"],

useHttps: false, // Support HTTPS or not, default "false" will use HTTP
httpsPrivateKey: "", // HTTPS private key path, only require when useHttps is true
httpsCertificate: "", // HTTPS Certificate path, only require when useHttps is true

language: "en",
locale: "en-US",
logLevel: ["INFO", "LOG", "WARN", "ERROR"], // Add "DEBUG" for even more logging
timeFormat: 24,
units: "metric",
// serverOnly: true/false/"local" ,
// local for armv6l processors, default
// starts serveronly and then starts chrome browser
// false, default for all NON-armv6l devices
// true, force serveronly mode, because you want to.. no UI on this device

modules: [
{
module: "alert",
},
{
module: "updatenotification",
position: "top_bar"
},
{
module: "clock",
position: "top_left"
},
{
module: "calendar",
header: "US Holidays",
position: "top_left",
config: {
calendars: [
{
symbol: "calendar-check",
url: "webcal://www.calendarlabs.com/ical-calendar/ics/76/US_Holidays.ics"
}
]
}
},
{
module: "compliments",
position: "lower_third"
},
{
module: "weather",
position: "top_right",
config: {
weatherProvider: "openweathermap",
type: "current",
location: "New York",
locationID: "5128581", //ID from http://bulk.openweathermap.org/sample/city.list.json.gz; unzip the gz file and find your city
apiKey: "YOUR_OPENWEATHER_API_KEY"
}
},
{
module: "weather",
position: "top_right",
header: "Weather Forecast",
config: {
weatherProvider: "openweathermap",
type: "forecast",
location: "New York",
locationID: "5128581", //ID from http://bulk.openweathermap.org/sample/city.list.json.gz; unzip the gz file and find your city
apiKey: "YOUR_OPENWEATHER_API_KEY"
}
},
{
module: "newsfeed",
position: "bottom_bar",
config: {
feeds: [
{
title: "New York Times",
url: "https://rss.nytimes.com/services/xml/rss/nyt/HomePage.xml"
}
],
showSourceTitle: true,
showPublishDate: true,
broadcastNewsFeeds: true,
broadcastNewsUpdates: true
}
},
]
};

/*************** DO NOT EDIT THE LINE BELOW ***************/
if (typeof module !== "undefined") {module.exports = config;}
شرح ملف التكوين
في البداية يحدد الملف البيانات الأساسية التي تحدد عنوان الجهاز و اللغة
في برنامجنا فمنا بتغير اللغة إلى اللغة العربية بكتابة قيمة “ar” بدلا من “en”
و الموقع السعودية بكتابة “locale: “ar-sa”,” بدلا من “en-US”
بالاضافة إلى تغير عرض الوقت إلى نظام 12 ساعة بدلا من 24
let config = {
address: "localhost", // Address to listen on, can be:
// - "localhost", "127.0.0.1", "::1" to listen on loopback interface
// - another specific IPv4/6 to listen on a specific interface
// - "0.0.0.0", "::" to listen on any interface
// Default, when address config is left out or empty, is "localhost"
port: 8080,
basePath: "/", // The URL path where MagicMirror is hosted. If you are using a Reverse proxy
// you must set the sub path here. basePath must end with a /
ipWhitelist: ["127.0.0.1", "::ffff:127.0.0.1", "::1"], // Set [] to allow all IP addresses
// or add a specific IPv4 of 192.168.1.5 :
// ["127.0.0.1", "::ffff:127.0.0.1", "::1", "::ffff:192.168.1.5"],
// or IPv4 range of 192.168.3.0 --> 192.168.3.15 use CIDR format :
// ["127.0.0.1", "::ffff:127.0.0.1", "::1", "::ffff:192.168.3.0/28"],

useHttps: false, // Support HTTPS or not, default "false" will use HTTP
httpsPrivateKey: "", // HTTPS private key path, only require when useHttps is true
httpsCertificate: "", // HTTPS Certificate path, only require when useHttps is true

language: "en",
locale: "en-US",
logLevel: ["INFO", "LOG", "WARN", "ERROR"], // Add "DEBUG" for even more logging
timeFormat: 24,
units: "metric",
من خلال “modules” نحدد البيانات التي نود اضهارها في هذه المشروع لا احتاج إلى أي من هذه البيانات معدا الوقت والتاريخ الذي يعرضه داله “clock”
بعد حذف أو عمل تعليق على باقي البيانات ، قم بتشغيل المرآة للتأكد أنها تعمل بشكل صحيح بدون اظهار أي بيانات لا نتطلبها
modules: [
{
module: "alert",
},
{
module: "updatenotification",
position: "top_bar"
},
{
module: "clock",
position: "top_left"
},
{
module: "calendar",
header: "US Holidays",
position: "top_left",
config: {
calendars: [
{
symbol: "calendar-check",
url: "webcal://www.calendarlabs.com/ical-calendar/ics/76/US_Holidays.ics"
}
]
}
},
{
module: "compliments",
position: "lower_third"
},
{
module: "weather",
position: "top_right",
config: {
weatherProvider: "openweathermap",
type: "current",
location: "New York",
locationID: "5128581", //ID from http://bulk.openweathermap.org/sample/city.list.json.gz; unzip the gz file and find your city
apiKey: "YOUR_OPENWEATHER_API_KEY"
}
},
{
module: "weather",
position: "top_right",
header: "Weather Forecast",
config: {
weatherProvider: "openweathermap",
type: "forecast",
location: "New York",
locationID: "5128581", //ID from http://bulk.openweathermap.org/sample/city.list.json.gz; unzip the gz file and find your city
apiKey: "YOUR_OPENWEATHER_API_KEY"
}
},
{
module: "newsfeed",
position: "bottom_bar",
config: {
feeds: [
{
title: "New York Times",
url: "https://rss.nytimes.com/services/xml/rss/nyt/HomePage.xml"
}
],
showSourceTitle: true,
showPublishDate: true,
broadcastNewsFeeds: true,
broadcastNewsUpdates: true
}
},
]
};

/*************** DO NOT EDIT THE LINE BELOW ***************/
if (typeof module !== "undefined") {module.exports = config;}
سيكون برنامج التكوين بهذا الشكل
/* Magic Mirror Config Sample
*
* By Michael Teeuw https://michaelteeuw.nl
* MIT Licensed.
*
* For more information on how you can configure this file
* see https://docs.magicmirror.builders/getting-started/configuration.html#general
* and https://docs.magicmirror.builders/modules/configuration.html
*/
let config = {
address: "localhost", // Address to listen on, can be:
// - "localhost", "127.0.0.1", "::1" to listen on loopback interface
// - another specific IPv4/6 to listen on a specific interface
// - "0.0.0.0", "::" to listen on any interface
// Default, when address config is left out or empty, is "localhost"
port: 8080,
basePath: "/", // The URL path where MagicMirror is hosted. If you are using a Reverse proxy
// you must set the sub path here. basePath must end with a /
ipWhitelist: ["127.0.0.1", "::ffff:127.0.0.1", "::1"], // Set [] to allow all IP addresses
// or add a specific IPv4 of 192.168.1.5 :
// ["127.0.0.1", "::ffff:127.0.0.1", "::1", "::ffff:192.168.1.5"],
// or IPv4 range of 192.168.3.0 --> 192.168.3.15 use CIDR format :
// ["127.0.0.1", "::ffff:127.0.0.1", "::1", "::ffff:192.168.3.0/28"],

useHttps: false, // Support HTTPS or not, default "false" will use HTTP
httpsPrivateKey: "", // HTTPS private key path, only require when useHttps is true
httpsCertificate: "", // HTTPS Certificate path, only require when useHttps is true

language: "ar",
locale: "ar-SA",
logLevel: ["INFO", "LOG", "WARN", "ERROR"], // Add "DEBUG" for even more logging
timeFormat: 12,
units: "metric",
// serverOnly: true/false/"local" ,
// local for armv6l processors, default
// starts serveronly and then starts chrome browser
// false, default for all NON-armv6l devices
// true, force serveronly mode, because you want to.. no UI on this device

modules: [

{
module: "clock",
position: "top_left"
},

]
};

/*************** DO NOT EDIT THE LINE BELOW ***************/
if (typeof module !== "undefined") {module.exports = config;}
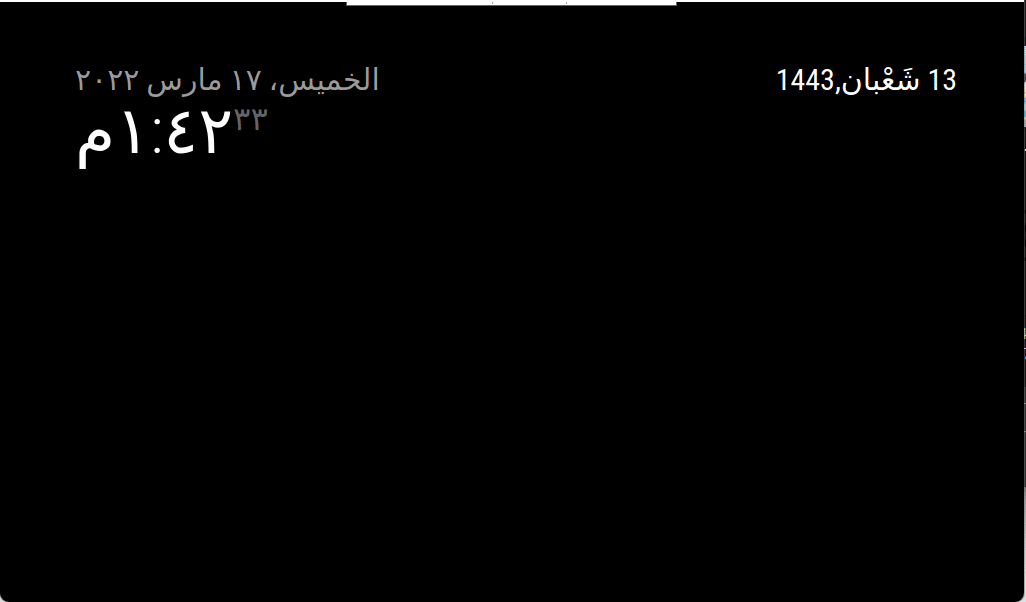
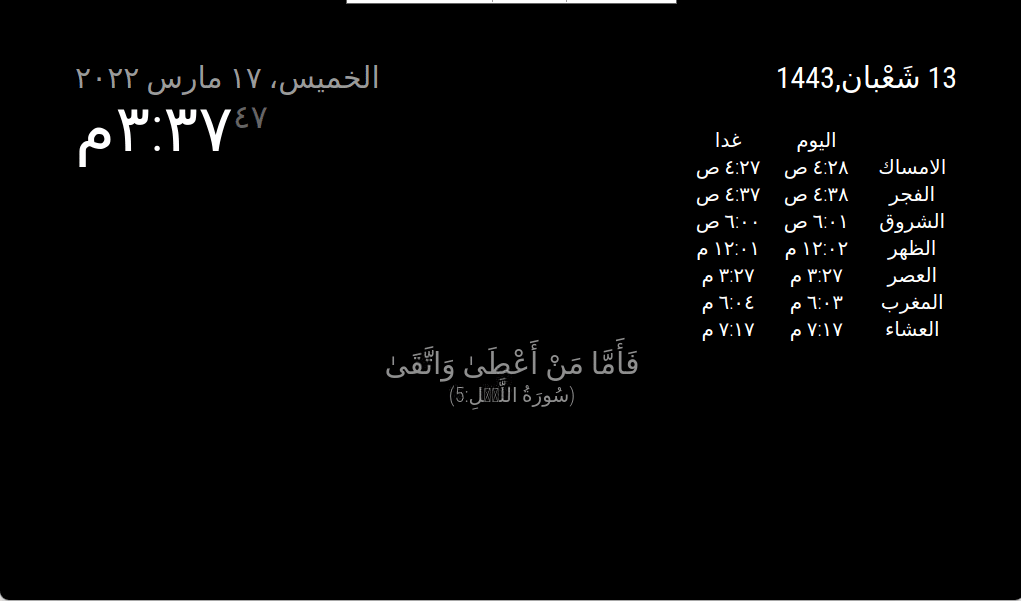
و سيظهر البرنامج بعد التشغيل بهذا الشكل

عرض التاريخ بالتقويم الهجري
الان سنقوم بعرض التاريخ الهجري
أولا سنقوم بكتاية السطر التالي لنسخ برنامج كتابة التاريخ مباشرة ولكن يجب أن يتم تحميله داخل ملف (modules)
سيتم تحميل ملف باسم (islamic-dash-display) و يوجد بداخلة ملف (currentislamicdate) قم بنقل ملف إلى modules
cd modules
git clone https://github.com/GeeksValley/islamic-dash-display
ثم سنقوم باضافة الوحدة إلى ملف التكوين من خلال الأسطر التالية
{
    module: 'currentislamicdate',
    position: 'top_right', // This can be any of the regions, best results in center regions
},
ستكون النتيجة بهذا الشكل
تشغيل البرنامج بنفس الطريقة
cd MagicMirror
npm run start
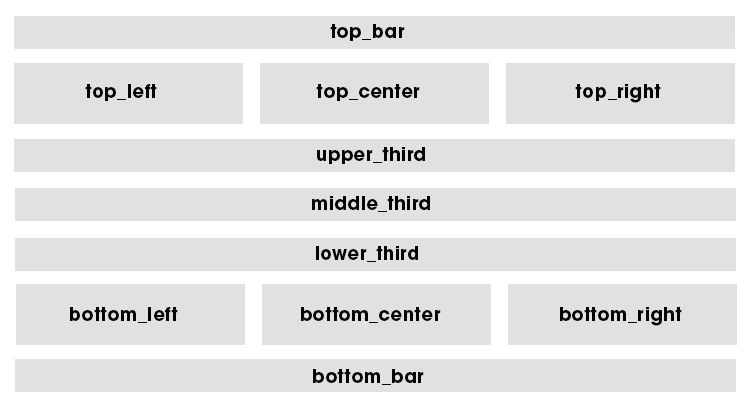
السطر الأول يعطي اسم الوحدة و السطر الثاني يحدد الموقع الذي سيتم ادراج الوحدة عليه
من خلال الصورة التالية تستطيع تحديد الموقع حسب ما تريد
عرض آيات قرآنية
نتبع الخطوات التالية لإضافة وحدة عرض الآيات القرآنية
أولا ننتقل إلى ملف (module) الموجود داخل ملف (MagicMirror)
cd Modules
ثم نقوم بعمل نسخ من ملف وحدة عرض الآيات من خلال السطر التالي
git clone https://github.com/slametps/MMM-RandomQuranAyah.git
بعد ذلك اكتب الأسطر التالية
cd MMM-RandomQuranAyah
npm install async
ثم للخروج من الملف
cd --
عد إلى ملف التكوين واضف السطر التالية
{
module: 'MMM-RandomQuranAyah',
position: 'lower_third', // This can be any of the regions. Best result is in the top_bar/bottom_bar as ayah (verse) can take multiple lines.
config: {
    apiVersion: '1.0', // please, leave unchanged. reserved for future use.
    showArabic: true,
    showTranslation: false,
    surahArabicName:true,
    translationLang:'id.indonesian',
    updateInterval: 70* 100, // milliseconds
}
},
يحدد السطر updateInterval المدة لعرض كل آيه قبل الانتقال لعرض آيه جديدة
أخيرا عد إلى تشغيل البرنامج بنفس الطريقة
cd MagicMirror
npm run start
ستظهر لك الآيات على الشاشة
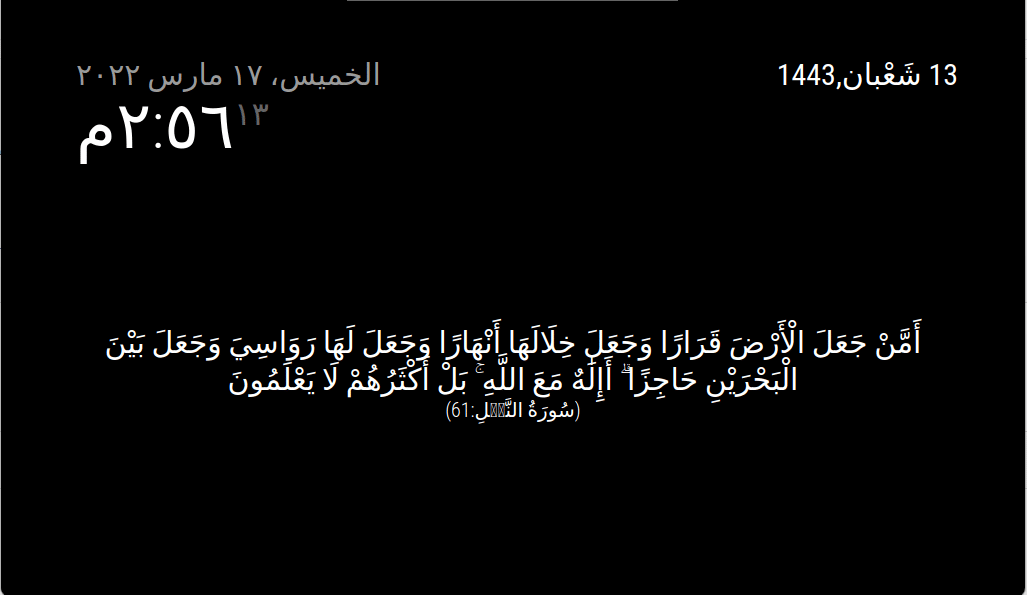
للتحكم بحجم خط الآيات فقد يبدو صغيرا اذا كانت شاشة العرض بمقاس أكبر من 10 انش
(MMM-RandomQuranAyah.css)انتقل إلى ملف عدل الأسطر كالتالي
.MMM-RandomQuranAyah .txt-arabic {
color: white;
font-size: 65px;

}
.MMM-RandomQuranAyah .txt-translation {
color: white;
}
عرض أوقات الصلاة
يمكن عرض أوقات الصلاة من خلال اضافة وحدة أوقات الصلاة داخل ملف (Modules) بالخطوات التالية
cd modules
ثم نقوم بعمل نسخ من ملف وحدة عرض أوقات الصلاة من خلال السطر التالي
git clone https://github.com/slametps/MMM-PrayerTime.git
بعد ذلك اكتب الأسطر التالية
cd MMM-PrayerTime
npm install async
ثم الخروج من الملف بكتابة
cd --
هذه الخطوة اختيارية لتعديل ظهور الجدول من اليمين إلى اليسار وهو بحذف ملف التكوين(MMM-PrayerTime.js) من داخل ملف (MMM-PrayerTime) و استبداله بالبرنامج التالي
Module.register("MMM-PrayerTime",{
// Default module config.
defaults: {
apiVersion: '1.0',
lat: false,
lon: false,
timezone: false,
timeFormat: config.timeFormat || 24,
method: 5, // method of timing computation {0-Shia Ithna-Ashari,1-University of Islamic Sciences, Karachi,2-Islamic Society of North America (ISNA),3-Muslim World League (MWL),4-Umm al-Qura, Makkah,5-Egyptian General Authority of Survey,7-Institute of Geophysics, University of Tehran}
methodSettings: false,
school: 0, // 0 = Shafii, 1 = Hanafi
adjustment: 0, // 0 = no days of adjustment to hijri date(s)
tune: '', // Comma Separated String of integers to offset timings returned by the API in minutes. Example: 5,3,5,7,9,7. See https://aladhan.com/calculation-methods
midnightMode: 0, // 0 for Standard (Mid Sunset to Sunrise), 1 for Jafari (Mid Sunset to Fajr). If you leave this empty, it defaults to Standard.
latitudeAdjustmentMethod: '', // Method for adjusting times higher latitudes - for instance, if you are checking timings in the UK or Sweden. 1 - Middle of the Night, 2 - One Seventh, 3 - Angle Based
playAdzan: ['fajr', 'dhuhr', 'asr', 'maghrib', 'isha'],
notDisplayed: ['midnight', 'sunset'],
useUpdateInterval: true,
updateInterval: 86400 * 1000, // How often do you want to fetch new praying time? (milliseconds)
animationSpeed: 2.5 * 1000, // Speed of the update animation. (milliseconds)
language: config.language || "en",
colored: false,
showAdzanAlert: true,
showTomorrow: true,
vertical: true, // set false to horizontal view
alertTimer: 15000
},
getScripts: function() {
return ["moment.js"];
},
getStyles: function() {
return ["MMM-PrayerTime.css"];
},
// Define required translations.
getTranslations: function() {
return {
'en': 'translations/en.json',
'id': 'translations/id.json',
'ar': 'translations/ar.json',
'fr': 'translations/fr.json',
'de': 'translations/de.json',
'bn': 'translations/bn.json'
};
},
getCommands: function(commander) {
commander.add({
command: 'prayertime',
description: this.translate("TXT_PRAYERTIME_DESC"),
callback: 'cmd_prayertime'
})
},
cmd_prayertime: function(command, handler) {
var text = "";
text += "*" + this.translate("TXT_PRAYERTIME") + "*\n";
text += "*" + this.translate("TODAY") + "*\n";
for (var t in this.arrTodaySchedule) {
text += "*" + this.translate(this.arrTodaySchedule[t][0].toUpperCase()) + ":* `" + (this.config.timeFormat == 12 ? moment(this.arrTodaySchedule[t][1], ["HH:mm"]).format("h:mm A") : this.arrTodaySchedule[t][1]) + "`\n";
}
text += "\n*" + this.translate("TOMORROW") + "*\n";
for (var t in this.arrNextdaySchedule) {
text += "*" + this.translate(this.arrNextdaySchedule[t][0].toUpperCase()) + ":* `" + (this.config.timeFormat == 12 ? moment(this.arrNextdaySchedule[t][1], ["HH:mm"]).format("h:mm A") : this.arrNextdaySchedule[t][1]) + "`\n";
}
handler.reply("TEXT", text, {parse_mode:'Markdown'});
},
/* getParams
* Generates an url with api parameters based on the config.
*
* return String - URL params.
*/
getParams: function(unixTime) {
var params = unixTime + "?";
if(this.config.lat) {
params += "latitude=" + this.config.lat;
}
if (this.config.lon) {
params += "&longitude=" + this.config.lon;
}
if (this.config.timezone) {
params += "&timezonestring=" + this.config.timezone;
}
if (this.config.method) {
params += "&method=" + this.config.method;
}
if (this.config.methodSettings) {
params += "&methodSettings=" + encodeURI(this.config.methodSettings);
}
if (this.config.school) {
params += "&school=" + this.config.school;
}
if (this.config.adjustment) {
params += "&adjustment=" + this.config.adjustment;
}
if (this.config.tune) {
params += "&tune=" + encodeURI(this.config.tune);
}
if (this.config.midnightMode) {
params += "&midnightMode=" + this.config.midnightMode;
}
if (this.config.latitudeAdjustmentMethod) {
params += "&latitudeAdjustmentMethod=" + this.config.latitudeAdjustmentMethod;
}
return params;
},
/* processSchedule
* process downloaded scheduled.
*/
processSchedule: function() {
var self = this;
function sortSchedule(a, b) {
if (a[1] < b[1]) {
return -1;
}
if (a[1] > b[1]) {
return 1;
}
// names must be equal
return 0;
}
// sort today schedule
this.arrTodaySchedule = [];
this.arrAdzanTime = [];
for(var x in this.todaySchedule){
if (!self.config.notDisplayed.includes(x.toLowerCase()))
this.arrTodaySchedule.push([x, this.todaySchedule[x]]);
if (self.config.playAdzan.includes(x.toLowerCase()))
this.arrAdzanTime.push(this.todaySchedule[x]);
}
this.arrTodaySchedule.sort(sortSchedule);
// sort nextday schedule
this.arrNextdaySchedule = [];
for(var x in this.nextdaySchedule){
if (!self.config.notDisplayed.includes(x.toLowerCase()))
this.arrNextdaySchedule.push([x, this.nextdaySchedule[x]]);
}
this.arrNextdaySchedule.sort(sortSchedule);
this.loaded = true;
this.updateDom(this.config.animationSpeed);
},
updateSchedule: function(delay) {
var self = this;
Log.log(self.name + ': updateSchedule');
var urlBase = "http://api.aladhan.com/timings/";
var curUnixTime = moment().unix();
var urlToday = urlBase + this.getParams(curUnixTime);
var urlNextday = urlBase + this.getParams(curUnixTime + 86400);
var resultToday = {};
var resultNextday = {};
var nbReq = 2;
var nbRes = 0;
var todayRequest = new XMLHttpRequest();
todayRequest.open("GET", urlToday, true);
todayRequest.onreadystatechange = function() {
if (this.readyState === 4) {
if (this.status === 200) {
resultToday = JSON.parse(this.responseText);
self.todaySchedule = resultToday.data.timings;
// debug/testing only
//self.todaySchedule = {"Fajr":"04:30", "Dhuhr":"12:00", "Asr":"16:14", "Maghrib":"18:00", "Isha":"20:50", "Imsak":"04:20"};
nbRes++;
if (nbRes == nbReq)
self.processSchedule();
} else {
Log.error(self.name + ": got HTTP status-" + this.status);
retry = true;
}
}
};
todayRequest.send();
var nextdayRequest = new XMLHttpRequest();
nextdayRequest.open("GET", urlNextday, true);
nextdayRequest.onreadystatechange = function() {
if (this.readyState === 4) {
if (this.status === 200) {
resultNextday = JSON.parse(this.responseText);
self.nextdaySchedule = resultNextday.data.timings;
nbRes++;
if (nbRes == nbReq)
self.processSchedule();
} else {
Log.error(self.name + ": got HTTP status-" + this.status);
retry = true;
}
}
};
nextdayRequest.send();
},
isAdzanNow: function() {
var curTime = moment().format("HH:mm:ss");
var indexAdzan = -1;
//console.log(this.arrTodaySchedule);
if (this.arrTodaySchedule.length > 0)
{
function isAdzan(el, idx, arr) {
return (el[1] + ':00') == curTime;
}
indexAdzan = this.arrTodaySchedule.findIndex(isAdzan);
//console.log("indexAdzan-"+indexAdzan);
if (indexAdzan > -1) {
//console.log(this.config.playAdzan);
//console.log("this.arrTodaySchedule[indexAdzan][0]).toLowerCase()-"+(this.arrTodaySchedule[indexAdzan][0]).toLowerCase());
//console.log("this.config.playAdzan.findIndex((this.arrTodaySchedule[indexAdzan][0]).toLowerCase())-"+this.config.playAdzan.findIndex((this.arrTodaySchedule[indexAdzan][0]).toLowerCase()));
if (this.config.playAdzan.includes((this.arrTodaySchedule[indexAdzan][0]).toLowerCase())) {
if (this.config.showAdzanAlert) {
var occasionNameUpper = (this.arrTodaySchedule[indexAdzan][0]).toUpperCase();
var alertMsg = "ALERT_ADZAN_MSG";
var adzanImsak = "ADZAN";
//console.log("occasionNameUpper-"+occasionNameUpper);
if (occasionNameUpper == "IMSAK") {
alertMsg = "ALERT_IMSAK_MSG";
adzanImsak = "IMSAK";
}
this.sendNotification("SHOW_ALERT", {title: this.translate(adzanImsak).toUpperCase(), imageFA: 'bullhorn', message: this.translate(alertMsg).replace("%OCCASION", this.translate(occasionNameUpper)), timer: this.config.alertTimer});
}
//console.log("this.arrTodaySchedule[indexAdzan][0]).toUpperCase()-"+(this.arrTodaySchedule[indexAdzan][0]).toUpperCase());
this.sendSocketNotification("PLAY_ADZAN", {occasion: (this.arrTodaySchedule[indexAdzan][0]).toUpperCase()});
}
}
}
},
start: function() {
Log.info("Starting module: " + this.name);
var self = this;
// Set locale.
moment.locale(this.config.language);
this.todaySchedule = {};
this.nextdaySchedule = {};
this.arrTodaySchedule = [];
this.arrNextdaySchedule = [];
this.arrAdzanTime = [];
this.loaded = false;
var self = this;
// first update
self.updateSchedule(0);
// periodic update if defined
if (self.config.useUpdateInterval) {
Log.log(self.name + ': using periodic update is activated');
setInterval(function() {
self.updateSchedule(0);
}, self.config.updateInterval);
}
// adzan-checker
self.isAdzanNow();
setInterval(function() {
self.isAdzanNow();
}, 1000);
},
// Override dom generator.
getDom: function() {
Log.log("Updating MMM-PrayerTime DOM.");
var self = this;
var wrapper = document.createElement("div");
if (!this.loaded) {
wrapper.innerHTML = this.translate("LOADING");
wrapper.className = "dimmed light small";
}
else {
var table = document.createElement("table");
table.className = "small";
if (this.config.vertical) { // vertical view
var row = document.createElement("tr");
if (this.config.colored) {
row.className = "colored";
}
table.appendChild(row);
if (this.config.showTomorrow) {
// nextday
var occasionTimeNext = document.createElement("td");
occasionTimeNext.className = "occasion-time bright light";
//occasionTimeNext.innerHTML = this.todaySchedule[t];
occasionTimeNext.innerHTML = this.translate('TOMORROW');
row.appendChild(occasionTimeNext);
}
// today
var occasionTime = document.createElement("td");
occasionTime.className = "occasion-time bright light";
occasionTime.innerHTML = this.translate('TODAY');
row.appendChild(occasionTime);
var occasionName = document.createElement("td");
occasionName.className = "occasion-name bright light";
occasionName.innerHTML = ' ';
row.appendChild(occasionName);
//for (var i = 0, count = this.todaySchedule.length; i < count; i++) {
//for (t in this.todaySchedule)
for (t in this.arrTodaySchedule)
{
row = document.createElement("tr");
if (this.config.colored) {
row.className = "colored";
}
table.appendChild(row);
//// ثاني تغير
if (this.config.showTomorrow) {
// nextday
var occasionTimeNext = document.createElement("td");
occasionTimeNext.className = "occasion-time bright light";
//occasionTimeNext.innerHTML = this.todaySchedule[t];
occasionTimeNext.innerHTML = (this.config.timeFormat == 12 ? moment(this.arrNextdaySchedule[t][1], ["HH:mm"]).format("h:mm A") : this.arrNextdaySchedule[t][1]);
row.appendChild(occasionTimeNext);
}
// today
var occasionTime = document.createElement("td");
occasionTime.className = "occasion-time bright light";
//occasionTime.innerHTML = this.todaySchedule[t];
occasionTime.innerHTML = (this.config.timeFormat == 12 ? moment(this.arrTodaySchedule[t][1], ["HH:mm"]).format("h:mm A") : this.arrTodaySchedule[t][1]);
row.appendChild(occasionTime);
var occasionName = document.createElement("td");
occasionName.className = "occasion-name bright light";
//occasionName.innerHTML = this.translate(t);
occasionName.innerHTML = this.translate(this.arrTodaySchedule[t][0].toUpperCase());
row.appendChild(occasionName);
}
}
else { // horizontal view
var table = document.createElement("table");
table.className = "small";
var row = document.createElement("tr");
if (this.config.colored) {
row.className = "colored";
}
table.appendChild(row);
var occasionName = document.createElement("td");
occasionName.className = "occasion-name bright light";
occasionName.innerHTML = ' ';
row.appendChild(occasionName);
// column label
for (t in this.arrTodaySchedule) {
var occasionTime = document.createElement("td");
occasionTime.className = "occasion-time bright light";
occasionTime.innerHTML = this.translate(this.arrTodaySchedule[t][0].toUpperCase());
row.appendChild(occasionTime);
}
// today
var rowToday = document.createElement("tr");
if (this.config.colored) {
rowToday.className = "colored";
}
table.appendChild(rowToday);
var occasionNameToday = document.createElement("td");
occasionNameToday.className = "occasion-time bright light";
occasionNameToday.innerHTML = this.translate('TODAY');
rowToday.appendChild(occasionNameToday);
for (t in this.arrTodaySchedule) {
var occasionTimeToday = document.createElement("td");
occasionTimeToday.className = "occasion-time bright light";
occasionTimeToday.innerHTML = (this.config.timeFormat == 12 ? moment(this.arrTodaySchedule[t][1], ["HH:mm"]).format("h:mm A") : this.arrTodaySchedule[t][1]);
rowToday.appendChild(occasionTimeToday);
}
if (this.config.showTomorrow) {
// nextday
var rowNext = document.createElement("tr");
if (this.config.colored) {
rowNext.className = "colored";
}
table.appendChild(rowNext);
var occasionNameNext = document.createElement("td");
occasionNameNext.className = "occasion-time bright light";
occasionNameNext.innerHTML = this.translate('TOMORROW');
rowNext.appendChild(occasionNameNext);
for (t in this.arrTodaySchedule) {
var occasionTimeNext = document.createElement("td");
occasionTimeNext.className = "occasion-time bright light";
occasionTimeNext.innerHTML = (this.config.timeFormat == 12 ? moment(this.arrNextdaySchedule[t][1], ["HH:mm"]).format("h:mm A") : this.arrNextdaySchedule[t][1]);
rowNext.appendChild(occasionTimeNext);
}
}
}
wrapper.appendChild(table);
}
return wrapper;
},
notificationReceived: function(notification, payload, sender) {
Log.log(this.name + ": received notification : " + notification);
if (notification == "PRAYER_TIME") {
if (payload.type == "PLAY_ADZAN") {
if (this.config.showAdzanAlert)
this.sendNotification("SHOW_ALERT", {title: this.translate("ADZAN"), message: this.translate("ALERT_ADZAN_MSG").replace("%OCCASION", this.translate("ASR")), timer: this.config.alertTimer});
this.sendSocketNotification("PLAY_ADZAN", {occasion: 'ASR'});
}
if (payload.type == "UPDATE_PRAYINGTIME") {
this.updateSchedule(0);
}
}
}
});
عد إلى ملف التكوين واضف السطر التالية
 {
module: 'MMM-PrayerTime',
position: 'top_right', // This can be any of the regions. Best result is in the top_left/top_right.
config: {
apiVersion: '1.0', // please, leave unchanged. reserved for future use.
lat: 24.7136, // latitude of your position (city)
lon: 46.6753, // longitude of your position (city)
timezone: 'Asia/Riyadh', // please refer to http://php.net/manual/en/timezones.php
timeFormat: 12,
method: 5,
playAdzan: ['fajr', 'dhuhr', 'asr', 'maghrib', 'isha'],
notDisplayed: ['midnight', 'sunset'],
useUpdateInterval: true,
updateInterval: 86400 * 1000, // How often do you want to fetch new praying time? (milliseconds)
animationSpeed: 2.5 * 1000, // Speed of the update animation. (milliseconds)
language: 'ar',
showAdzanAlert: true,
showTomorrow: true,
vertical: true, // set false for horizontal view
alertTimer: 15000
}
},
يجب أن تقوم بتغير الأسطر التالية حسب موقعك فيشير (lat) إلى خطوط العرض الخاصة بمدينتك و (lon) إلى خطوط الطول
lat: 24.7136, // latitude of your position (city)
lon: 46.6753, // longitude of your position (city)
timezone: 'Asia/Riyadh', // please refer to http://php.net/manual/en/timezones.php
الأسطر التالية تتحكم بتفعيل الأذان عند دخول أوقات الصلاة، و هل ظهور مواعيد الصلاة باليوم التالي
showAdzanAlert: true,
showTomorrow: true,
بعد تشغيل البرنامج ستجد الواجهة بهذا الشكل
إضافة صور للخلفية
يمكن عرضصور مختلفة من خلال إضافة وحدة تقوم بنشر صور من موجودة داخل ملف (Modules) بالخطوات التالية
cd modules
ثم نقوم بعمل نسخ من ملف وحدة عرض أوقات الصلاة من خلال السطر التالي
git clone https://github.com/miccl/MMM-Random-local-image.git
بعد ذلك اكتب الأسطر التالية
cd MMM-Random-local-image
npm install async
الصور التي ستقوم بعرضها يجب حفظها داخل ملف MMM-Random-local-image\exampleImages احذف الصورة الموجودة بالفعل
يمكن أن تستخدم ذات الصور التي استخدمناها و تحملها من خلال الرابط أو تقوم باختيار الصور الخاصة بك مع مراحة أن يكون حجم الصورة (1920*1080)
عد إلى ملف التكوين واضف السطر التالية
 {
module: "MMM-Random-local-image",
position: "fullscreen_below",
config: {
photoDir: "./modules/MMM-Random-local-image/exampleImages",

// below are more options
}
},
وبشكل اختياري يمكن عرض الراسبيري باي بشكل أفقي من خلال
النقر على علامة التوت و من ثم اختيار PERFOMENS>SCREENCONGIGURATION
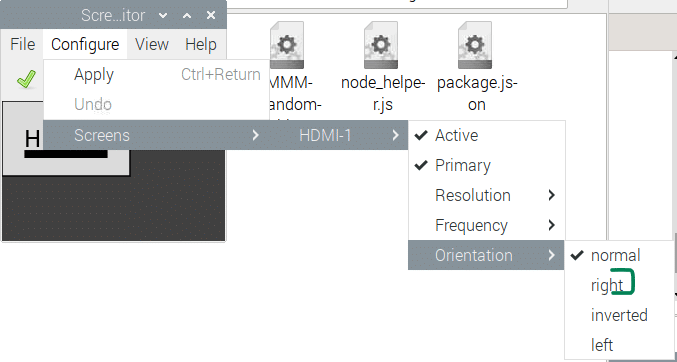
ثم ننقر على VIEW > APPLAY


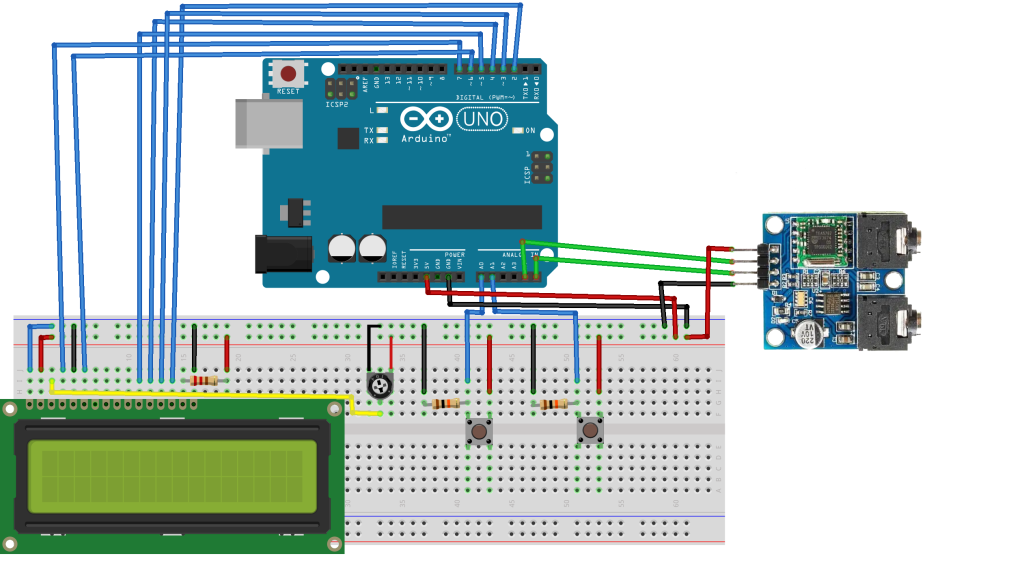


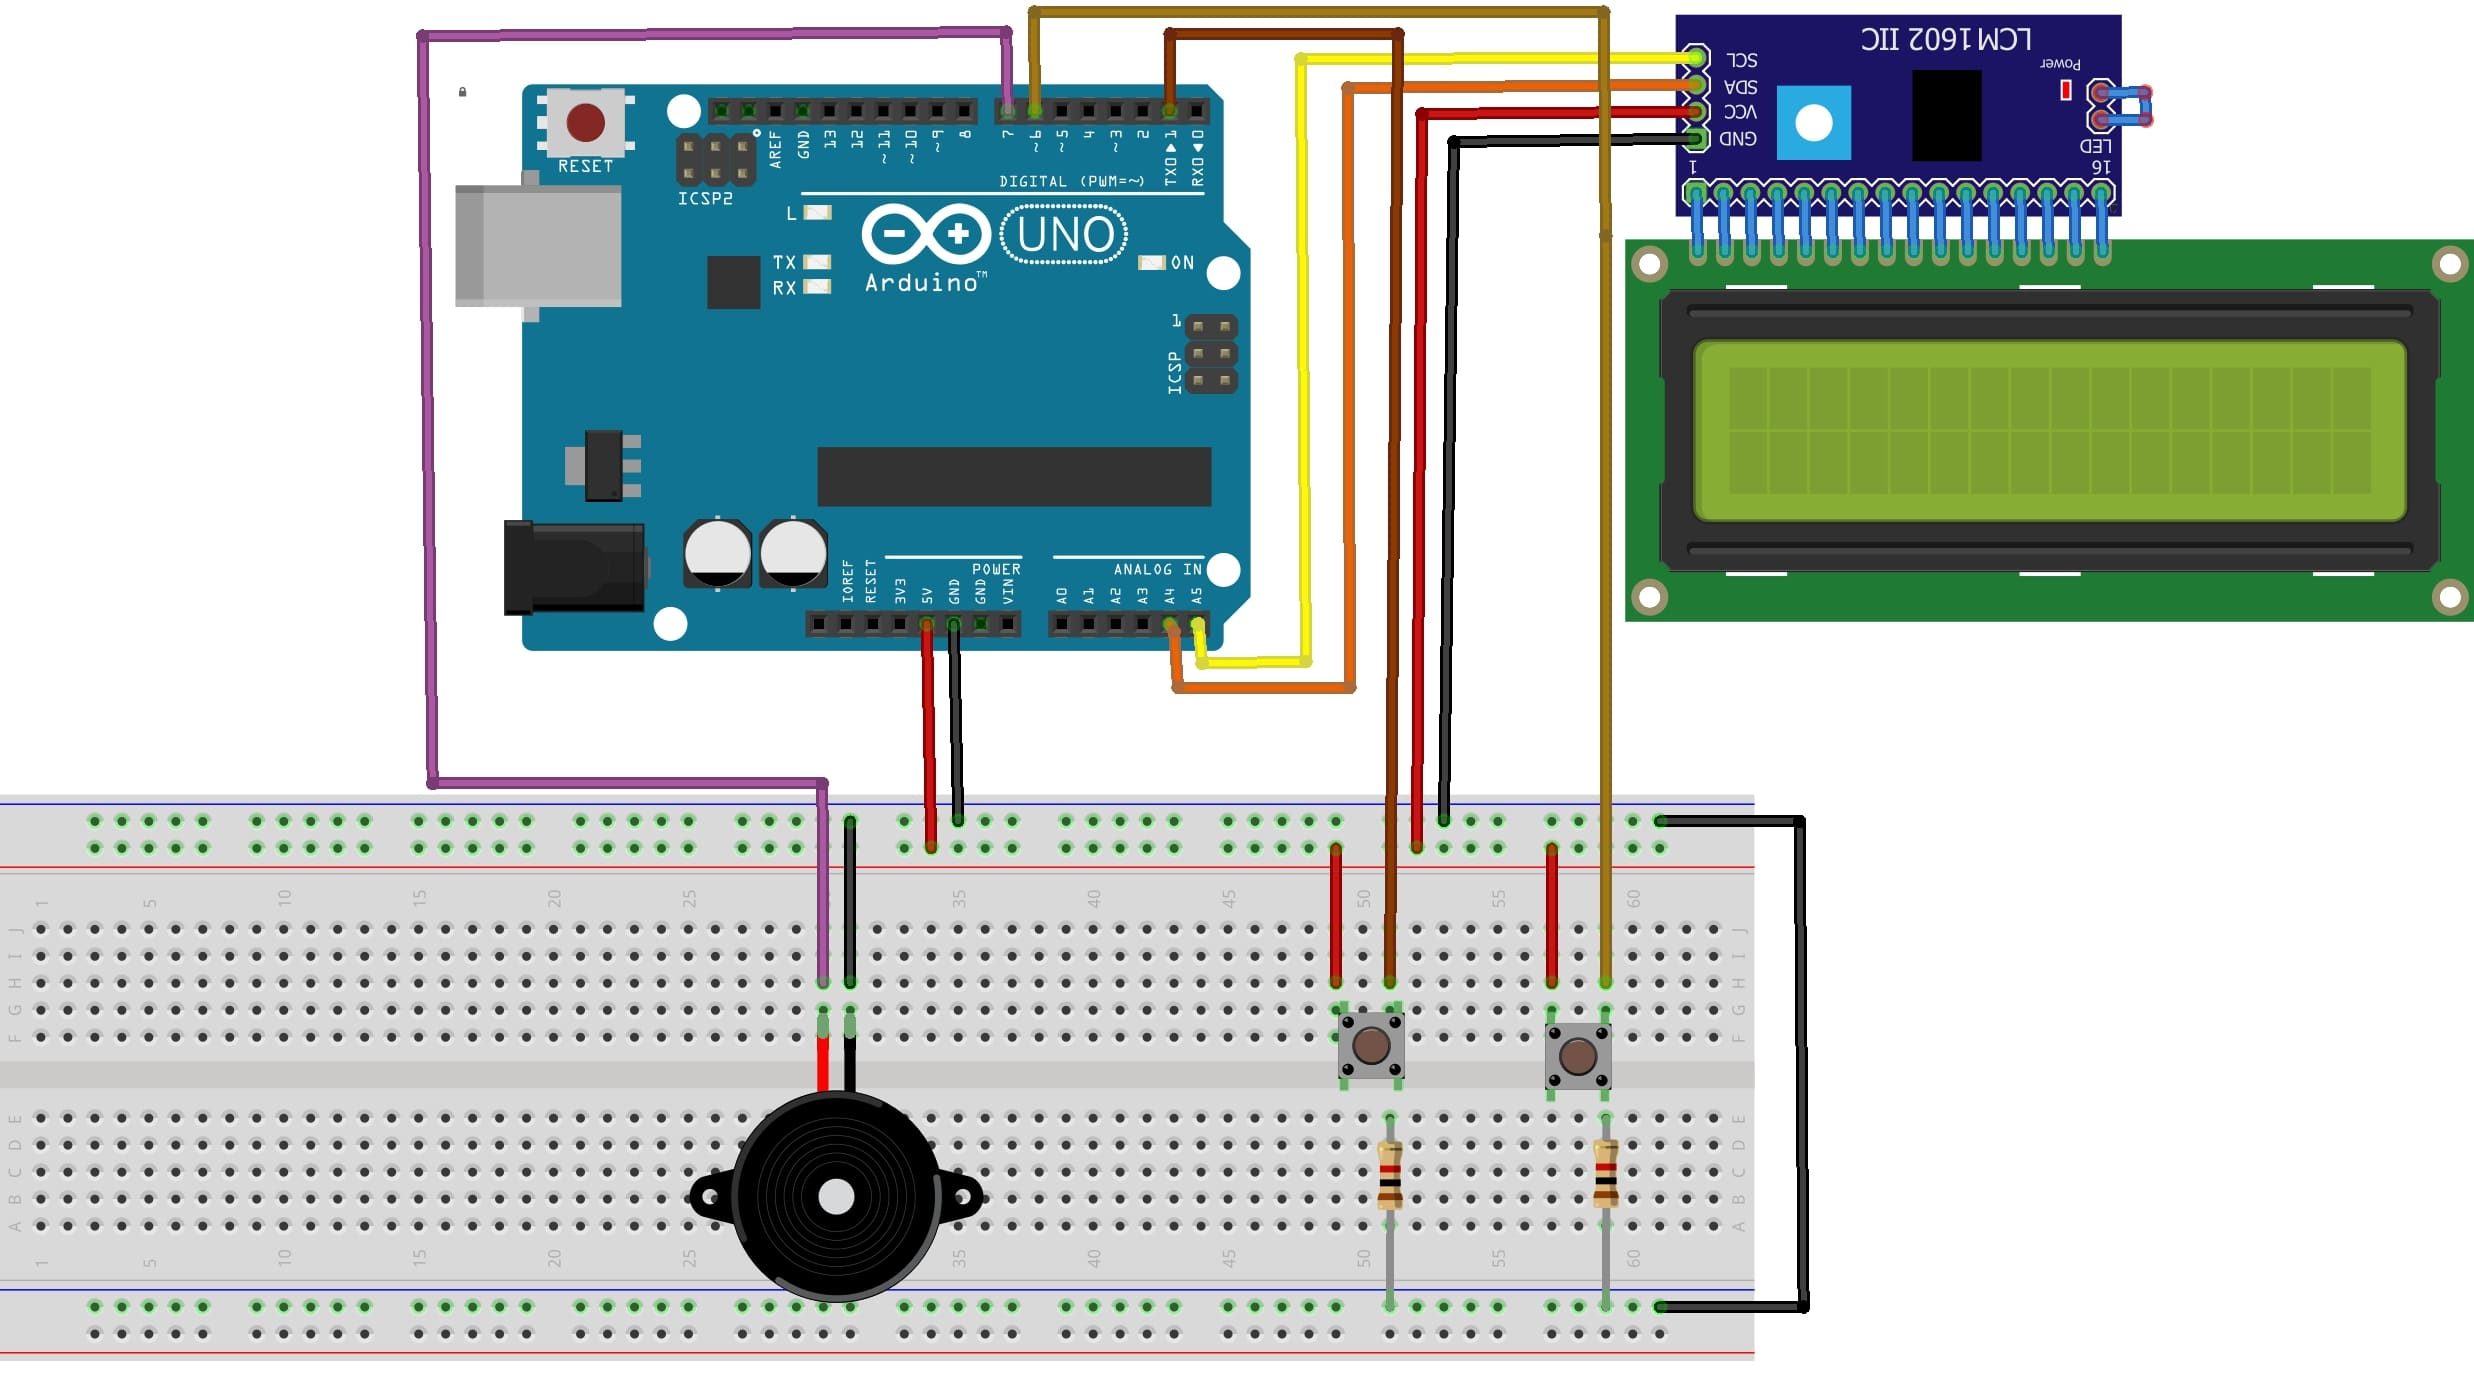
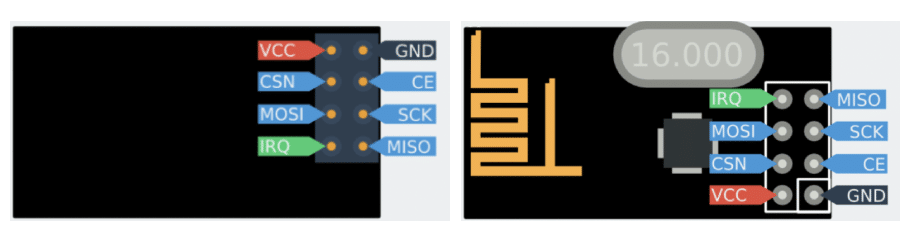 الجدول يوضح وظائف المنافذ للوحدة