سنقوم بتعلم كيفية رسم الدوائر البسيطة باستخدام الطلاء الكهربائي و إرفاق LED و بطارية لعمل وميض على البطاقات الخاصة بك.

القطع المستخدمة :

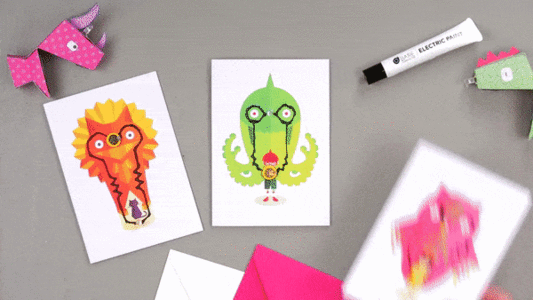
بطاقات
العدد : 3
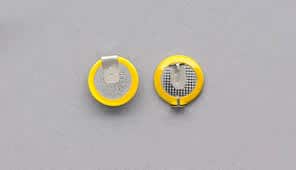
بطارية
العدد : 1
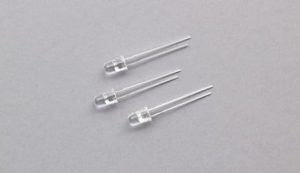
LED
العدد : 3
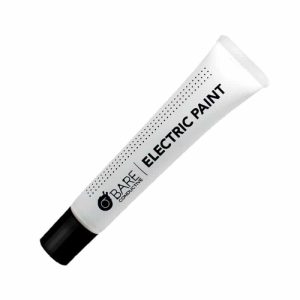
طلاء موصل للكهرباء
توصيل الدائرة :
ثقب البطاقة :
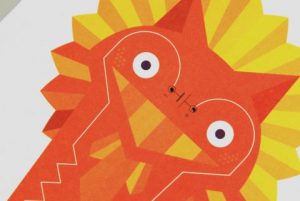
أولا، قم بعمل أربعة ثقوب في الأماكن المخصصة على البطاقة بإستخدام الدبوس كما هو موضح بالصور .

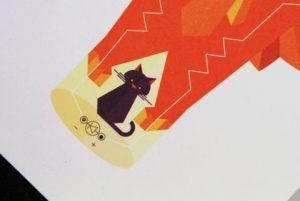
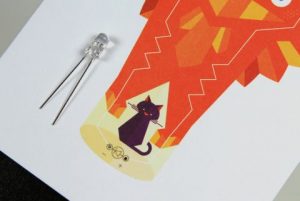
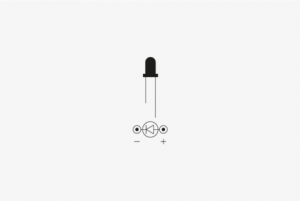
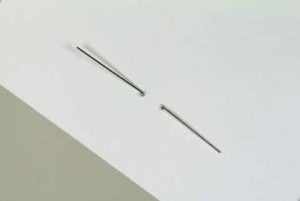
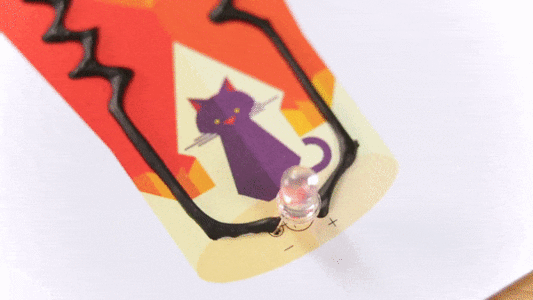
وضع الـ LED :
قم بوضع الساق الطويلة للـ LED على الثقب + و الساق القصيرة على الثقب – .
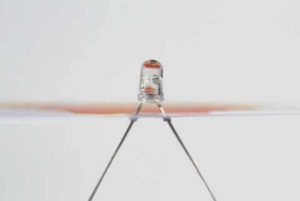
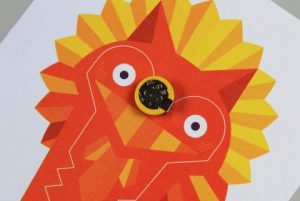
وضح البطارية :
قم بدفع الساق العلوية ( فوق الشريط الأصفر ) نحو الثقب الموجب + و الساق الأخرى نحو الثقب السالب – .
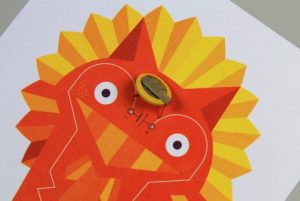
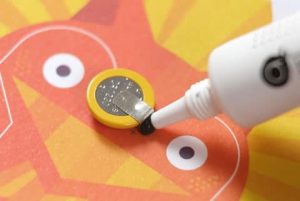
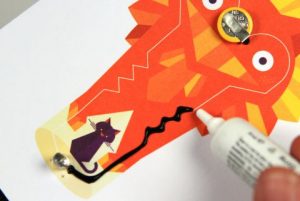
لحام الـ LED و البطارية :
قم بوضع قطرات من الطلاء الكهربائي على اطراف LED و البطارية، ثم تأكد ان البطارية و الـ LED متصلين بالورقة .
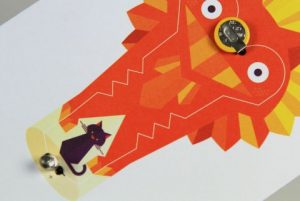
رسم الدائرة :
قم برسم خط لتوصيل الـ LED و البطارية بإستخدام الطلاء الموصل للكهرباء . قم برسم خط على طول الخط الأبيض المرسوم مسبقا.
من المهم أن يكون الخط رقيق بما يكفي ليجف بسرعة و سميك بما يكفي لتدفق التيار بشكل صحيح .


السماح للطلاء أن يجف
الان يجب ترك الطلاء ليجف على البطاقة . وهذا سوف يستغرق حوالي 15 دقيقة تقريبا.

بعد أن يجف الطلاء، سيتم البدء بتوهج البطاقة.
قم بعمل وميض على باقي البطاقات بإستخدام نفس الخطوات