مقدمة
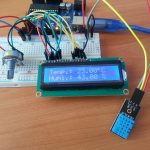
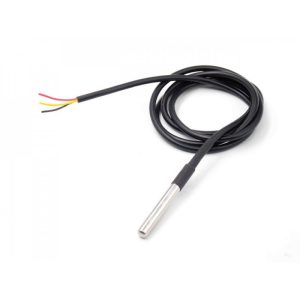
في هذا الدرس نتعرف على كيفية استخدام مستشعر درجة الحرارة المقاوم للماء وإظهار القراءة على شاشة العرض (OLED Display). حيث يمكننا مستشعر درجة الحرارة من قياس درجة الحرارة من (-55 ℃ إلى 125 ℃) بدقة ± 5. كما يمكن استخدامه في قياس درجة حرارة الهواء أو السوائل.
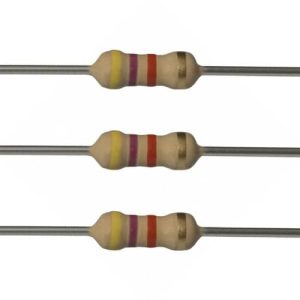
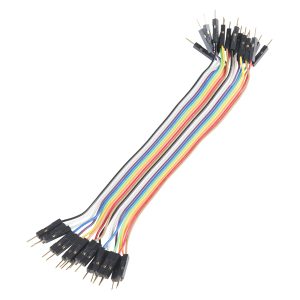
المواد والأدوات
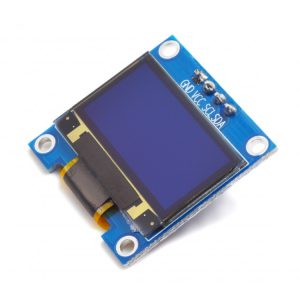
شاشة عرض (OLED Display)
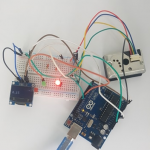
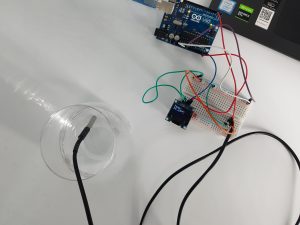
التوصيل
شاشة عرض (OLED Display) اختصارا لـ (organic light emitting diode) متوفرة بحجم 128 × 64 وهي شاشة عرض رسومية نقطية بسيطة. تحتوي على 128 عمودًا و64 صفًا مما يجعله يعرض إجمالي 128 × 64 = 8192 بكسل. تحتوي الشاشة على أربعة دبابيس فقط ويتواصل مع Arduino باستخدام بروتوكول اتصال I2C.
توصيل الشاشة مع الاردوينو حسب الجدول التالي
| الاردوينو | OLED Display |
| 5v | VCC |
| GND | GND |
| A4 | SLC |
| A5 | SDA |
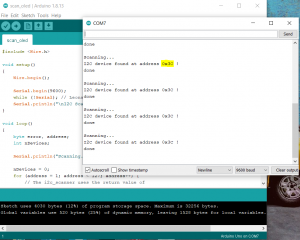
عمل مسح لمعرفة عنوان i2c
بعد توصيل الشاشة مع الاردوينو، نقوم برفع الكود البرمجي التالي عليها لمعرفة عنوان i2c
#include

void setup()
{
    Wire.begin();

    Serial.begin(9600);
    while (!Serial); // Leonardo: wait for serial monitor
    Serial.println("\nI2C Scanner");
}

void loop()
{
    byte error, address;
    int nDevices;

    Serial.println("Scanning...");

    nDevices = 0;
    for (address = 1; address < 127; address++) {

        Wire.beginTransmission(address);
        error = Wire.endTransmission();

        if (error == 0) {
            Serial.print("I2C device found at address 0x");
            if (address < 16)
                Serial.print("0");
            Serial.print(address, HEX);
            Serial.println(" !");

            nDevices++;
        }
        else if (error == 4) {
            Serial.print("Unknown error at address 0x");
            if (address < 16)
                Serial.print("0");
            Serial.println(address, HEX);
        }
    }
    if (nDevices == 0)
        Serial.println("No I2C devices found\n");
    else
        Serial.println("done\n");

    delay(5000); // wait 5 seconds for next scan
}
و من ثم نقوم بإظهار شاشة (serial Monitor) ومعرفة عنوان i2c
البرمجة:
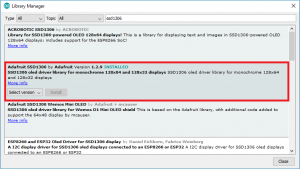
للتحكم في شاشة OLED ، تحتاج إلى مكتبة adafruit_SSD1306.h مكتبة adafruit_GFX.h. لتثبيت هذه المكتبات نقوم بالخطوات التالية:
1. افتح Arduino IDE وانتقل إلى Sketch> Include Library> Manage Libraries. يجب أن يفتح مدير المكتبة
. 2. اكتب “SSD1306” في مربع البحث وقم بتثبيت مكتبة SSD1306 من Adafruit.

3. بعد تثبيت مكتبة SSD1306 من Adafruit ، نكتب “GFX” في مربع البحث ونقوم بتثبيت المكتبة.
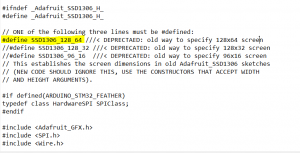
نفتح ملف Adafruit_SSD1306.h في محرر نصي. من خلال القسم الذي يعرض SSD1306. نقوم بإلغاء التعليق #define SSD1306_128_64 بحيث يظهر الكود في هذا القسم كما يلي:
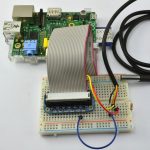
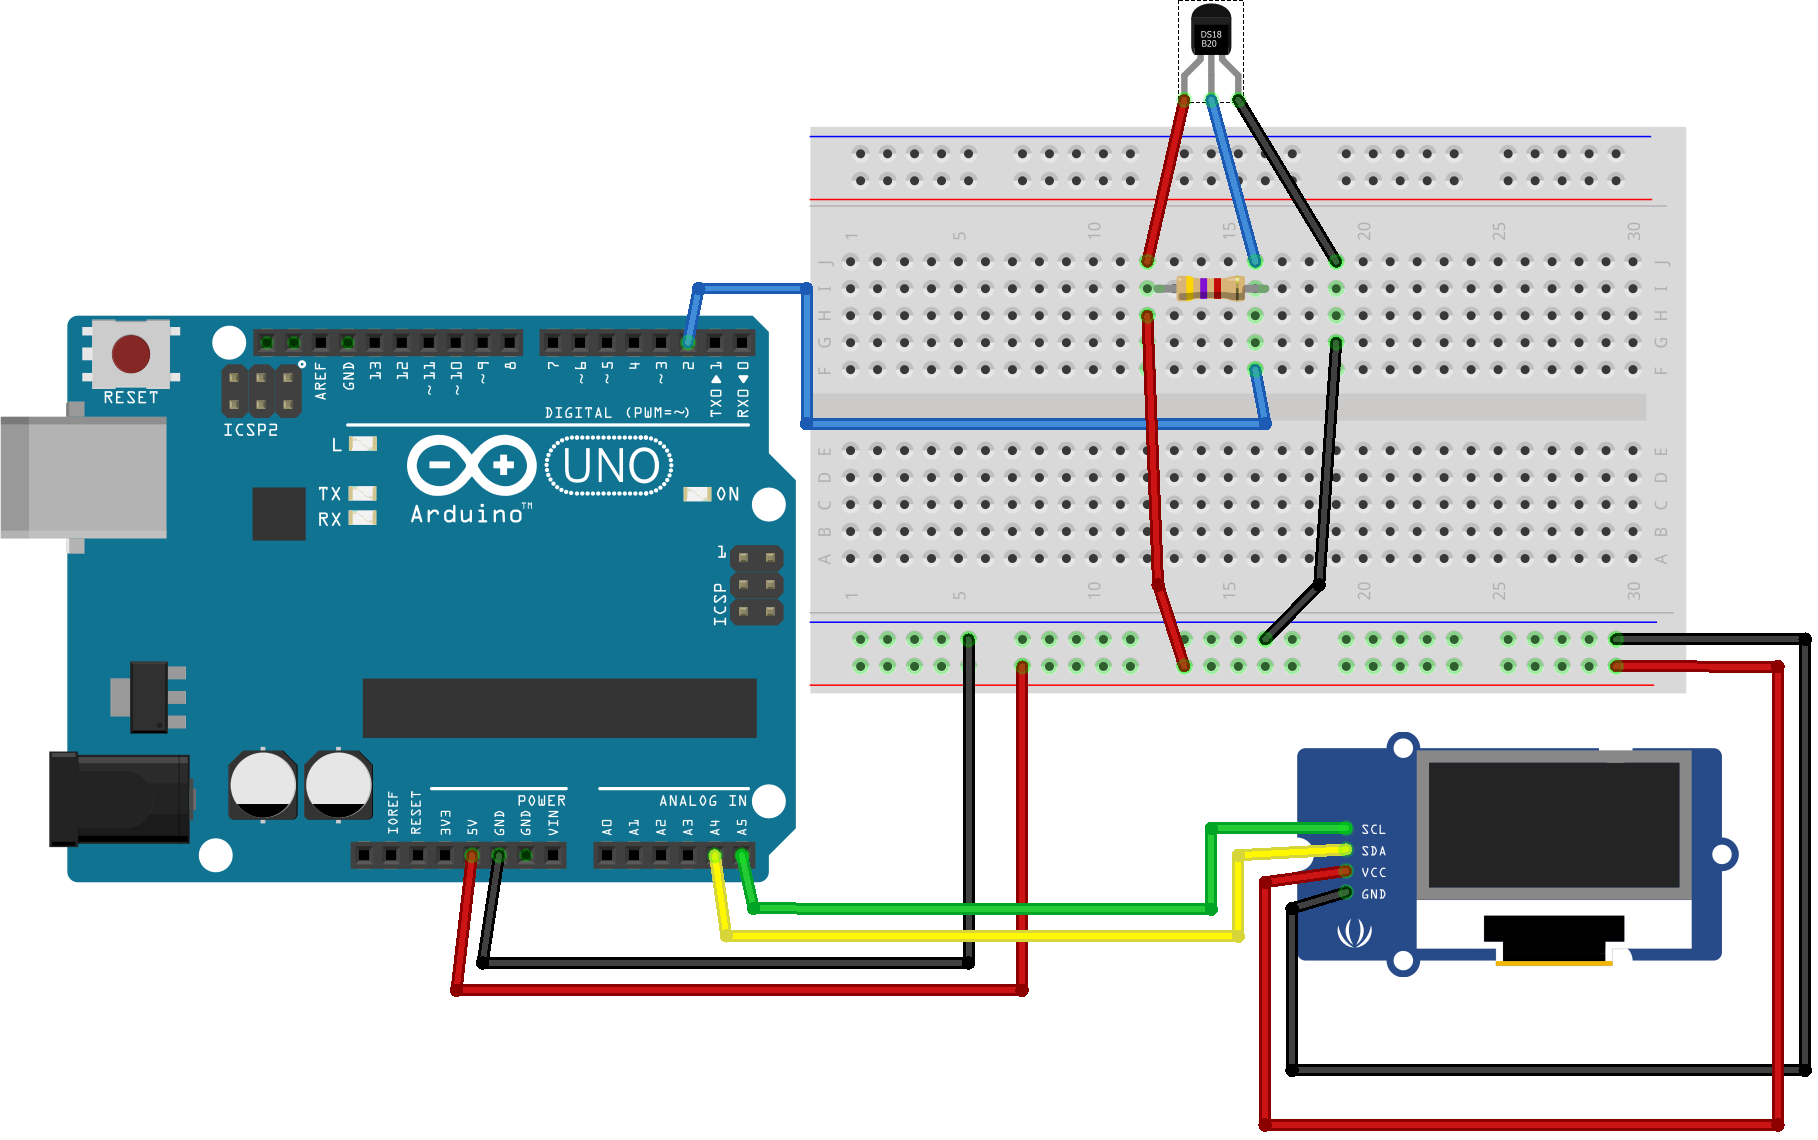
توصيل الدائرة:
الكود البرمجي
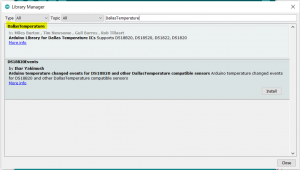
نقوم بتحميل مكتبة DallasTemperature بالبحث عن المكتبات عن طريق Tools > Manage Libraries لبرمجة DS18B20 مستشعر درجة الحرارة المقاوم للماء
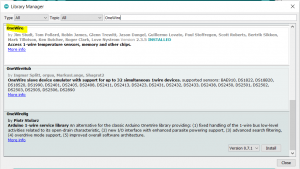
و مكتبة OneWire Arduino library
ثم ستقوم برفع الكود البرمجي التالي :
#include <Adafruit_GFX.h>
#include <Adafruit_SSD1306.h>
#include <Wire.h>
#include <OneWire.h>
#include <DallasTemperature.h>
#define ONE_WIRE_BUS 2
OneWire oneWire(ONE_WIRE_BUS);
DallasTemperature sensors(&oneWire);
#define OLED_RESET 4
Adafruit_SSD1306 display(OLED_RESET);
#if (SSD1306_LCDHEIGHT != 64)
#error("Height incorrect, please fix Adafruit_SSD1306.h!");
#endif

void setup() {
display.begin(SSD1306_SWITCHCAPVCC, 0x3C); // initialize with the I2C addr 0x3D (for the 128x64)
display.display(); // show splashscreen
delay(2000);
display.clearDisplay(); // clears the screen and buffer
Serial.begin(9600);
sensors.begin();
}
void loop() {
// Send the command for all devices on the bus to perform a temperature conversion:
sensors.requestTemperatures();

// Fetch the temperature in degrees Celsius for device index:
float tempC = sensors.getTempCByIndex(0); // the index 0 refers to the first device
// Fetch the temperature in degrees Fahrenheit for device index:
float tempF = sensors.getTempFByIndex(0);

// Print the temperature in Celsius in the Serial Monitor:
display.clearDisplay();
display.setTextSize(2);
display.setTextColor(WHITE);
display.setCursor(0,0);

display.println("Temp: ");
display.print(tempC);
display.print((char)247); // degree symbol
display.print("C");
display.display();
delay(2000);
// routine for displaying text for temp/hum readout

}
شرح الكود البرمجي
استدعاء المكتبات التي ستساعدنا في برمجة شاشة OLED Display و حساس الحرارة
#include <Adafruit_GFX.h>
#include <Adafruit_SSD1306.h>
#include <Wire.h>
#include <OneWire.h>
#include <DallasTemperature.h>
نقوم بتعريف المنفذ الذي سيتم توصيل and حساس الحرارة معه
#define ONE_WIRE_BUS 2
بعد ذلك ، نقوم بإنشاء كائن
من أجل التواصل مع مستشعر DS18B20 ، نحتاج إلى إنشاء كائن من مكتبة DallasTemperature
OneWire oneWire(ONE_WIRE_BUS);
DallasTemperature sensors(&oneWire);
نكتب بروتوكول إعادة الضبط
#define OLED_RESET 4
Adafruit_SSD1306 display(OLED_RESET);
#if (SSD1306_LCDHEIGHT != 64)
#error("Height incorrect, please fix Adafruit_SSD1306.h!");
#endif
في دالة void setup()نحتاج إلى تهيئة حساس الحرارة و تهيئة العرض ومسحه لشاشة OLED Display تأكد من كتابة عنوان I2Cلشاشة العرض
void setup()   {
  display.begin(SSD1306_SWITCHCAPVCC, 0x3C);
  display.display(); // show splashscreen
  delay(2000);
  display.clearDisplay();   // clears the screen and buffer
  Serial.begin(9600);
  sensors.begin();
}
نعطي الأمر استشعار درجة الحرارة
void loop() {
  sensors.requestTemperatures();

  float tempC = sensors.getTempCByIndex(0); // the index 0 refers to the first device
نعطي الأمر بطباعة درجة الحرارة بالدرجة المئوية على شاشة OLED Display
  // Print the temperature in Celsius in the Serial Monitor:
 display.clearDisplay();
    display.setTextSize(2);
    display.setTextColor(WHITE);
    display.setCursor(0,0);

  display.println("Temp: ");
  display.print(tempC);
  display.print((char)247); // degree symbol
  display.print("C");
    display.display();
    delay(2000);
  }