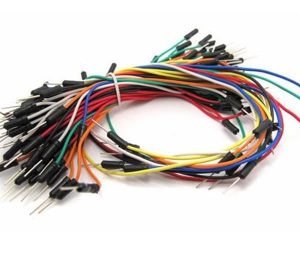
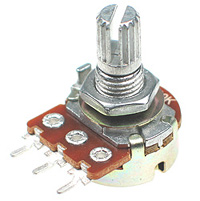
مقدمة
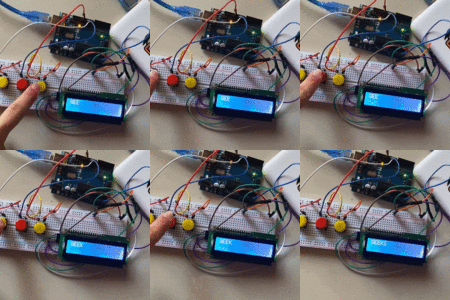
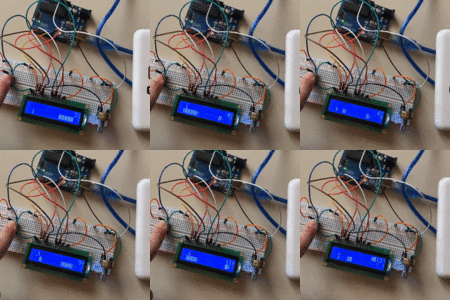
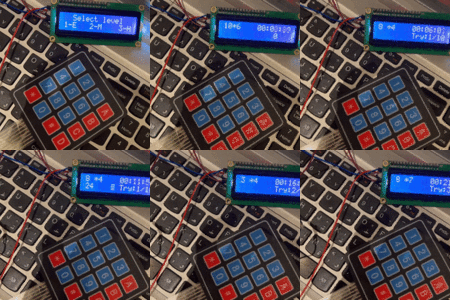
في هذا الدرس ستتعلم كيف تصنع آلة حاسبة باستخدام الاردوينو ولوحة المفاتيح.

المواد والأدوات
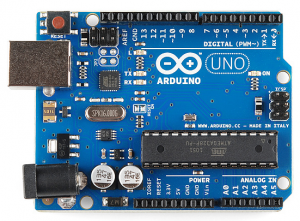
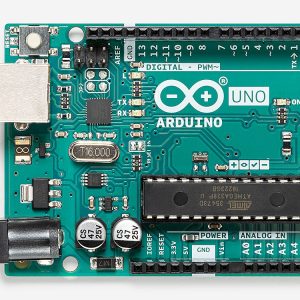
1× اردوينو اونو

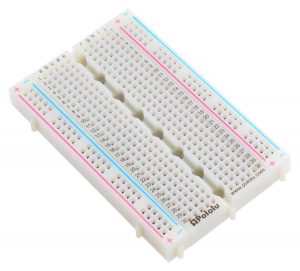
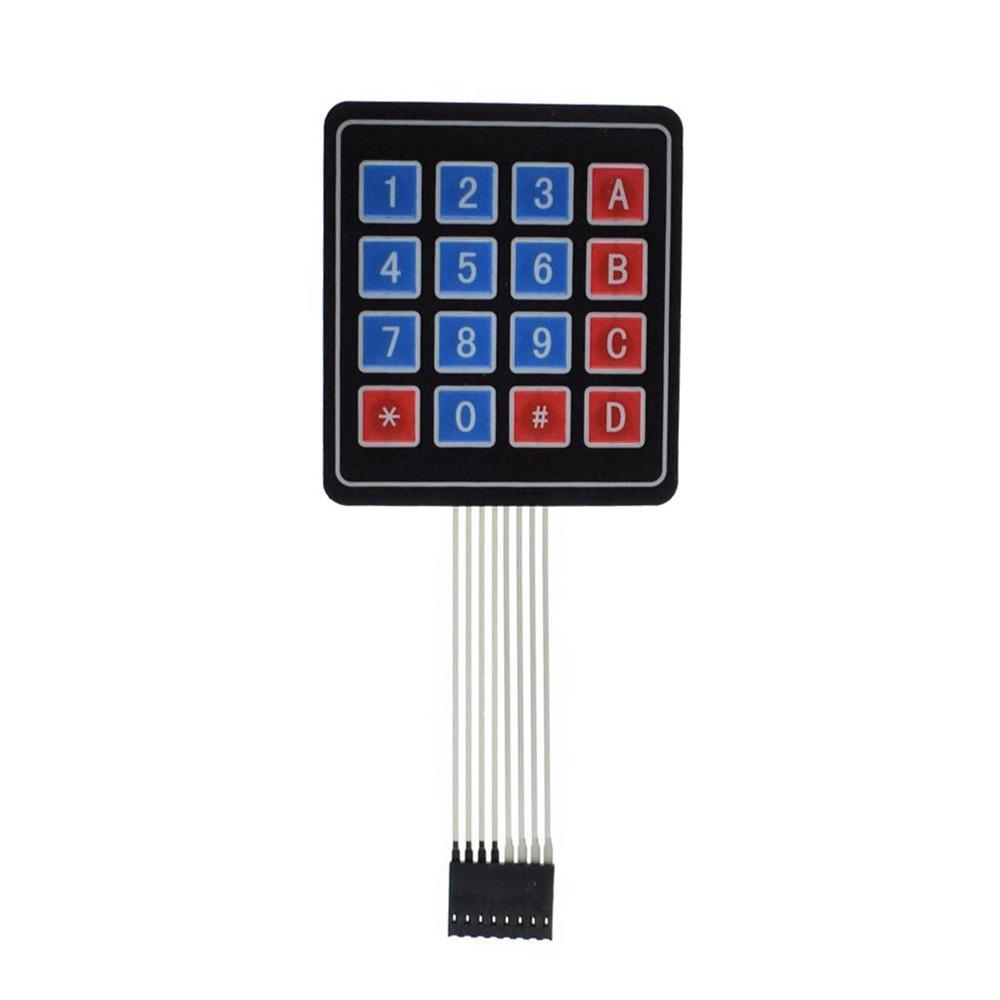
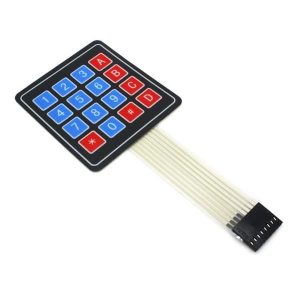
1× لوحة مفاتيح
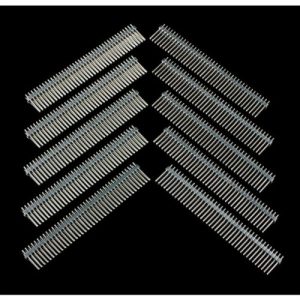
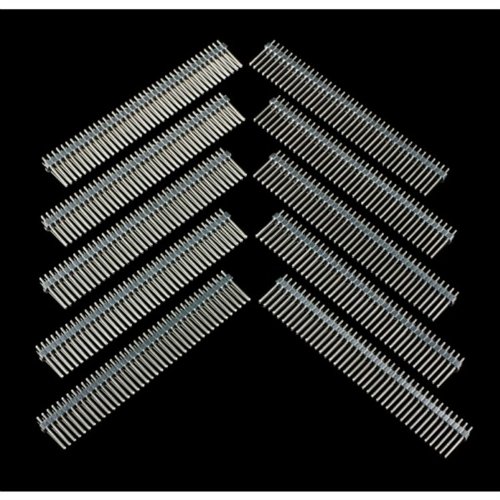
1× 40 رأس دبوس
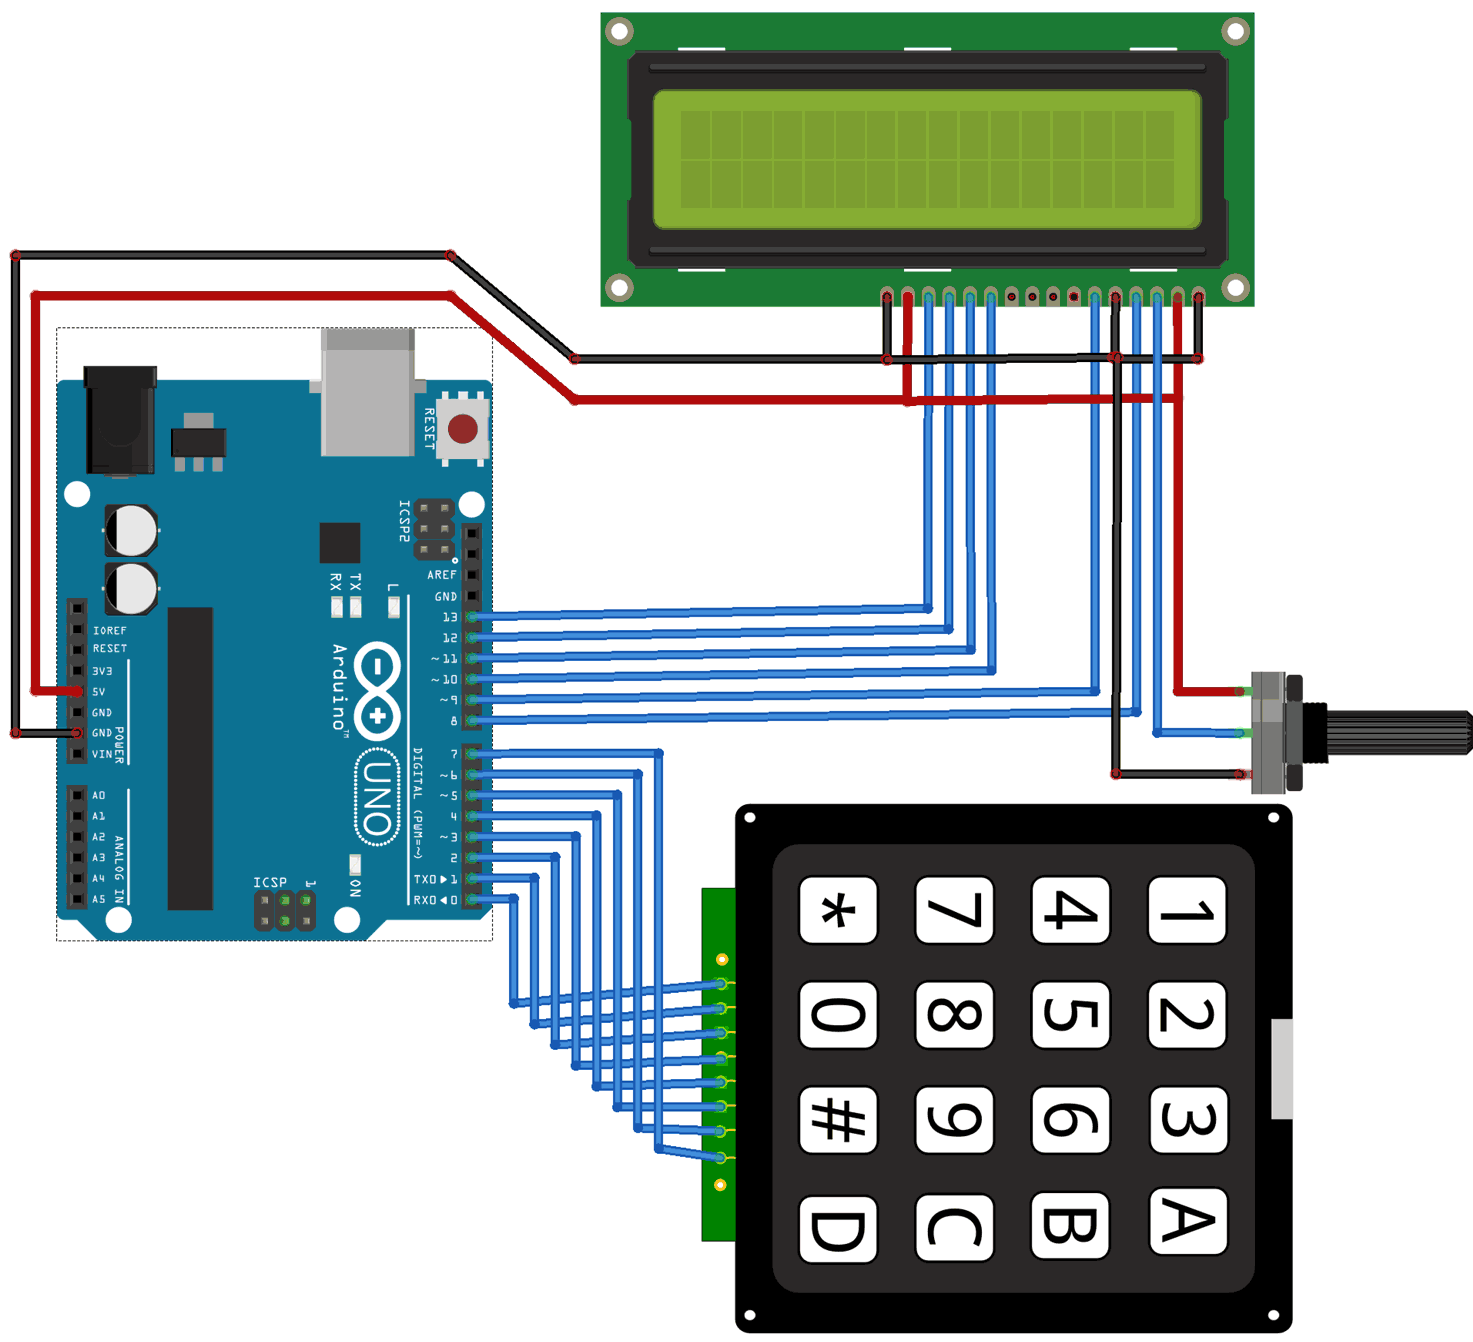
توصيل الدائرة
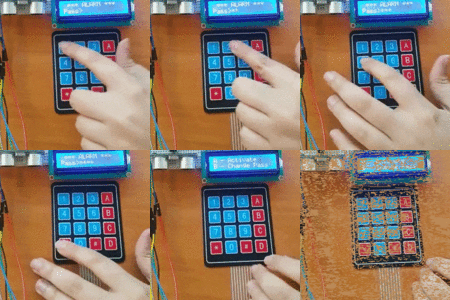
للمزيد حول لوحة المفاتيح يمكنك الرجوع للدرس لوحة المفاتيح Keypad.
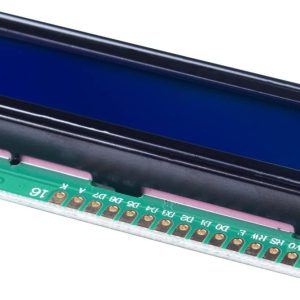
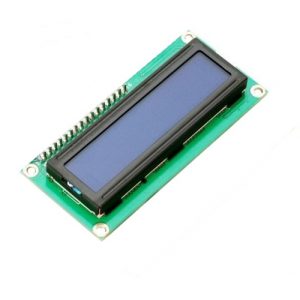
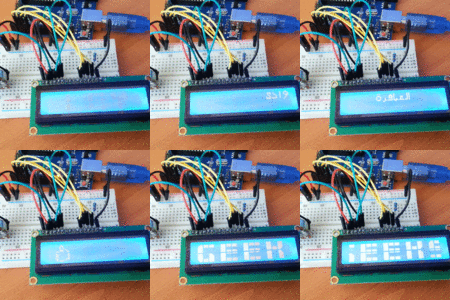
لمعرفة المزيد حول الشاشة الكرستالية يمكنك الرجوع للدرس التحكم بالشاشة الكرستالية LCD
لابد من تلحيم المنافذ مع الشاشة الكرستالية، للمزيد حول اللحام يمكنك الرجوع للدرس تعلم كيفية التلحيم – تلحيم القطع باللوحة الإلكترونية
الكود البرمجي
ارفع كود نظام آلة حاسبة باستخدام الاردوينو ولوحة المفاتيح للوحة الاردوينو.
#include <LiquidCrystal.h>
#include <Keypad.h>

const byte ROWS = 4; // Four rows
const byte COLS = 4; // Four columns

// Define the Keymap
char keys[ROWS][COLS] = {

  {'1','2','3','A'},

  {'4','5','6','B'},

  {'1','2','3','C'},

  {'*','0','#','D'}

};

byte rowPins[ROWS] = { 0, 1, 2, 3 };// Connect keypad ROW0, ROW1, ROW2 and ROW3 to these Arduino pins.
byte colPins[COLS] = { 4, 5, 6, 7 }; // Connect keypad COL0, COL1 and COL2 to these Arduino pins.

Keypad kpd = Keypad( makeKeymap(keys), rowPins, colPins, ROWS, COLS ); //  Create the Keypad

const int rs = 8, en = 9, d4 = 10, d5 = 11, d6 = 12, d7 = 13; //Pins to which LCD is connected
LiquidCrystal lcd(rs, en, d4, d5, d6, d7);

 long Num1,Num2,Number;
 char key,action;
 boolean result = false;

void setup() {
  lcd.begin(16, 2); //We are using a 16*2 LCD display
  lcd.print("DIY Calculator"); //Display a intro message


   delay(2000); //Wait for display to show info
    lcd.clear(); //Then clean it
}

void loop() {

key = kpd.getKey(); //storing pressed key value in a char

if (key!=NO_KEY)
DetectButtons();

if (result==true)
CalculateResult();

DisplayResult();
}

void DetectButtons()
{
     lcd.clear(); //Then clean it
    if (key=='*') //If cancel Button is pressed
    {Serial.println ("Button Cancel"); Number=Num1=Num2=0; result=false;}

     if (key == '1') //If Button 1 is pressed
    {Serial.println ("Button 1");
    if (Number==0)
    Number=1;
    else
    Number = (Number*10) + 1; //Pressed twice
    }

     if (key == '4') //If Button 4 is pressed
    {Serial.println ("Button 4");
    if (Number==0)
    Number=4;
    else
    Number = (Number*10) + 4; //Pressed twice
    }

     if (key == '7') //If Button 7 is pressed
    {Serial.println ("Button 7");
    if (Number==0)
    Number=7;
    else
    Number = (Number*10) + 7; //Pressed twice
    }


    if (key == '0')
    {Serial.println ("Button 0"); //Button 0 is Pressed
    if (Number==0)
    Number=0;
    else
    Number = (Number*10) + 0; //Pressed twice
    }

     if (key == '2') //Button 2 is Pressed
    {Serial.println ("Button 2");
     if (Number==0)
    Number=2;
    else
    Number = (Number*10) + 2; //Pressed twice
    }

     if (key == '5')
    {Serial.println ("Button 5");
     if (Number==0)
    Number=5;
    else
    Number = (Number*10) + 5; //Pressed twice
    }

     if (key == '8')
    {Serial.println ("Button 8");
     if (Number==0)
    Number=8;
    else
    Number = (Number*10) + 8; //Pressed twice
    }


    if (key == '#')
    {Serial.println ("Button Equal");
    Num2=Number;
    result = true;
    }

     if (key == '3')
    {Serial.println ("Button 3");
     if (Number==0)
    Number=3;
    else
    Number = (Number*10) + 3; //Pressed twice
    }

     if (key == '6')
    {Serial.println ("Button 6");
    if (Number==0)
    Number=6;
    else
    Number = (Number*10) + 6; //Pressed twice
    }

     if (key == '9')
    {Serial.println ("Button 9");
    if (Number==0)
    Number=9;
    else
    Number = (Number*10) + 9; //Pressed twice
    }

      if (key == 'A' || key == 'B' || key == 'C' || key == 'D') //Detecting Buttons on Column 4
  {
    Num1 = Number;
    Number =0;
    if (key == 'A')
    {Serial.println ("Addition"); action = '+';}
     if (key == 'B')
    {Serial.println ("Subtraction"); action = '-'; }
     if (key == 'C')
    {Serial.println ("Multiplication"); action = '*';}
     if (key == 'D')
    {Serial.println ("Devesion"); action = '/';}

    delay(100);
  }

}

void CalculateResult()
{
  if (action=='+')
    Number = Num1+Num2;

  if (action=='-')
    Number = Num1-Num2;

  if (action=='*')
    Number = Num1*Num2;

  if (action=='/')
    Number = Num1/Num2;
}

void DisplayResult()
{
  lcd.setCursor(0, 0);   // set the cursor to column 0, line 1
  lcd.print(Num1); lcd.print(action); lcd.print(Num2);

  if (result==true)
  {lcd.print(" ="); lcd.print(Number);} //Display the result

  lcd.setCursor(0, 1);   // set the cursor to column 0, line 1
  lcd.print(Number); //Display the result
}
شرح الكود البرمجي
هنا استدعينا المكتبات التي سنحتاجها مثل مكتبة الشاشة الكرستالية <LiquidCrystal.h> ومكتبة لوحة المفاتيح <Keypad.h>.
نستطيع تحميل مكتبة الشاشة الكرستالية بتتبع المسار التالي:
Sketch > Include libraries > Manage libraries
ثم نكتب بخانة البحث Liquid crystal by Arduino
ثم نضغط على Install.
ثم نحمل مكتبة Keypad.
ثم نضيفها للاردوينو IDE.
بتتبع المسار التالي:
Sketch > Include libraries > Add ZIP library
ونضيف المجلد الذي قمنا بتحميله.
#include <LiquidCrystal.h>
#include <Keypad.h>
تحتوي لوحة المفاتيح على أربعة صفوف وأربعة أعمدة تم تعريفها في هذه الأسطر.
const byte ROWS = 4; // Four rows
const byte COLS = 4; // Four columns
هنا يتم تعريف أزرار لوحة المفاتيح وهم 16 مفتاح منوعة ما بين أرقام ورموز وحروف.
// Define the Keymap
char keys[ROWS][COLS] = {

  {'1','2','3','A'},

  {'4','5','6','B'},

  {'1','2','3','C'},

  {'*','0','#','D'}

};
هنا وضحنا المداخل الرقمية في لوحة الاردوينو التم تم ربطها مع مداخل لوحة المفاتيح.
byte rowPins[ROWS] = { 0, 1, 2, 3 };// Connect keypad ROW0, ROW1, ROW2 and ROW3 to these Arduino pins.
byte colPins[COLS] = { 4, 5, 6, 7 }; // Connect keypad COL0, COL1 and COL2 to these Arduino pins.
بعد ذلك أعلنا عن المتغيرات اللازمة مثل المتغيرات الخاصة بالشاشة الكرستالية>
const int rs = 8, en = 9, d4 = 10, d5 = 11, d6 = 12, d7 = 13; //Pins to which LCD is connected
LiquidCrystal lcd(rs, en, d4, d5, d6, d7);
في دالة ()setup يتم طباعة جملة ابتدائية DIY Calculator صنع آلة الحاسبة بنفسك.
بعد ذلك سيتم مسح الشاشة ()lcd.clear استعدادًا لطباعة الحسابات الرياضية.
void setup() {
  lcd.begin(16, 2); //We are using a 16*2 LCD display
  lcd.print("DIY Calculator"); //Display a intro message

   delay(2000); //Wait for display to show info
    lcd.clear(); //Then clean it
}
في الدالة ()loop يتم قراءة المدخلات للوحة المفاتيح وسيتم استدعاء الدالة ()CalculateResult لحساب العملية الرياضية.
وبعد ذلك سيتم طباعة النتيجة على الشاشة من خلال الدالة ()DisplayResult.
void loop() {

key = kpd.getKey(); //storing pressed key value in a char

if (key!=NO_KEY)
DetectButtons();

if (result==true)
CalculateResult();

DisplayResult();
}
في الدالة ()DetectButtons سيتم إدخال الرقم الذي تم إدخاله من قبل المستخدم وسينطبع الرقم على الشاشة بعد ذلك عليه اختيار نوع العملية الحسابية من الرموز الموجودة على يمين لوحة التحكم.
حرف A= جمع.
حرف B= طرح.
حرف C= ضرب.
حرف D= قسمة.
ثم يقوم المستخدم بإدخال رقم آخر بعد العملية الحسابية استعدادًا لتنفيذ لعملية الرياضية.
بعد إدخال نوع العملية الحسابية انقر على الرمز # يتم تنفيذها .
إذا أردت حذف العملية السابقة يمكنك النقر على زر النجمة *.
void DetectButtons()
{
     lcd.clear(); //Then clean it
    if (key=='*') //If cancel Button is pressed
    {Serial.println ("Button Cancel"); Number=Num1=Num2=0; result=false;}

     if (key == '1') //If Button 1 is pressed
    {Serial.println ("Button 1");
    if (Number==0)
    Number=1;
    else
    Number = (Number*10) + 1; //Pressed twice
    }

     if (key == '4') //If Button 4 is pressed
    {Serial.println ("Button 4");
    if (Number==0)
    Number=4;
    else
    Number = (Number*10) + 4; //Pressed twice
    }

     if (key == '7') //If Button 7 is pressed
    {Serial.println ("Button 7");
    if (Number==0)
    Number=7;
    else
    Number = (Number*10) + 7; //Pressed twice
    }


    if (key == '0')
    {Serial.println ("Button 0"); //Button 0 is Pressed
    if (Number==0)
    Number=0;
    else
    Number = (Number*10) + 0; //Pressed twice
    }

     if (key == '2') //Button 2 is Pressed
    {Serial.println ("Button 2");
     if (Number==0)
    Number=2;
    else
    Number = (Number*10) + 2; //Pressed twice
    }

     if (key == '5')
    {Serial.println ("Button 5");
     if (Number==0)
    Number=5;
    else
    Number = (Number*10) + 5; //Pressed twice
    }

     if (key == '8')
    {Serial.println ("Button 8");
     if (Number==0)
    Number=8;
    else
    Number = (Number*10) + 8; //Pressed twice
    }


    if (key == '#')
    {Serial.println ("Button Equal");
    Num2=Number;
    result = true;
    }

     if (key == '3')
    {Serial.println ("Button 3");
     if (Number==0)
    Number=3;
    else
    Number = (Number*10) + 3; //Pressed twice
    }

     if (key == '6')
    {Serial.println ("Button 6");
    if (Number==0)
    Number=6;
    else
    Number = (Number*10) + 6; //Pressed twice
    }

     if (key == '9')
    {Serial.println ("Button 9");
    if (Number==0)
    Number=9;
    else
    Number = (Number*10) + 9; //Pressed twice
    }

      if (key == 'A' || key == 'B' || key == 'C' || key == 'D') //Detecting Buttons on Column 4
  {
    Num1 = Number;
    Number =0;
    if (key == 'A')
    {Serial.println ("Addition"); action = '+';}
     if (key == 'B')
    {Serial.println ("Subtraction"); action = '-'; }
     if (key == 'C')
    {Serial.println ("Multiplication"); action = '*';}
     if (key == 'D')
    {Serial.println ("Devesion"); action = '/';}

    delay(100);
  }

}
في دالة ()CalculateResult سيتم تنفيذ العملية الرياضية المدخلة من قبل المستخدم.
void CalculateResult()
{
  if (action=='+')
    Number = Num1+Num2;

  if (action=='-')
    Number = Num1-Num2;

  if (action=='*')
    Number = Num1*Num2;

  if (action=='/')
    Number = Num1/Num2;
}
في الدالة ()DisplayResult سيتم عرض الأرقام المدخلة والعمية الحسابية والنتيجة.
void DisplayResult()
{
  lcd.setCursor(0, 0);   // set the cursor to column 0, line 1
  lcd.print(Num1); lcd.print(action); lcd.print(Num2);

  if (result==true)
  {lcd.print(" ="); lcd.print(Number);} //Display the result

  lcd.setCursor(0, 1);   // set the cursor to column 0, line 1
  lcd.print(Number); //Display the result
}
تأكد بأن آلة الحاسبة تعمل بالشكل الصحيح.
لا تنسَ فصل وحدة الطاقة بعد الانتهاء من استخدام النظام.

